VM's essentially behave similar to a regular machine. It has its own CPU, RAM, Storage, etc alloted. The only difference is that these resources are software-defined for a VM. A VM can be thought as running another "virtual" computer inside your main computer.
For eg: Let's say your personal laptop has the follow specs:
intel i5 - 8 core
16GB ram
512GB Storage
OS - Windows 11
Now you can run a VM inside your laptop that has the following specs:
intel i5 - 4 cores
8GB ram
20GB storage
So basically what we have done here is temporarily allot some of your computers resources to run that virtual machine. Once this VM is stoped, those resources alloted the VM would be freed and available for your main laptop to use.
A good usecase for people using VM's are to try out other operating systems without messing around with any permanent system configurations or disk partitions. Some software only works on certain operating systems. It is beneficial then to run that software in a VM, rather than dual booting or buying another machine that runs that OS.
Another usecase is for people that want an isolated or sandboxed environment to test or run certain applications. This means that it is not connected to your main computer, so if anything goes wrong (eg: system gets corrupted) you can always create a new VM and there will be no permanent damage to your pc.
The process of installing a VM is different for Windows and MacOS.
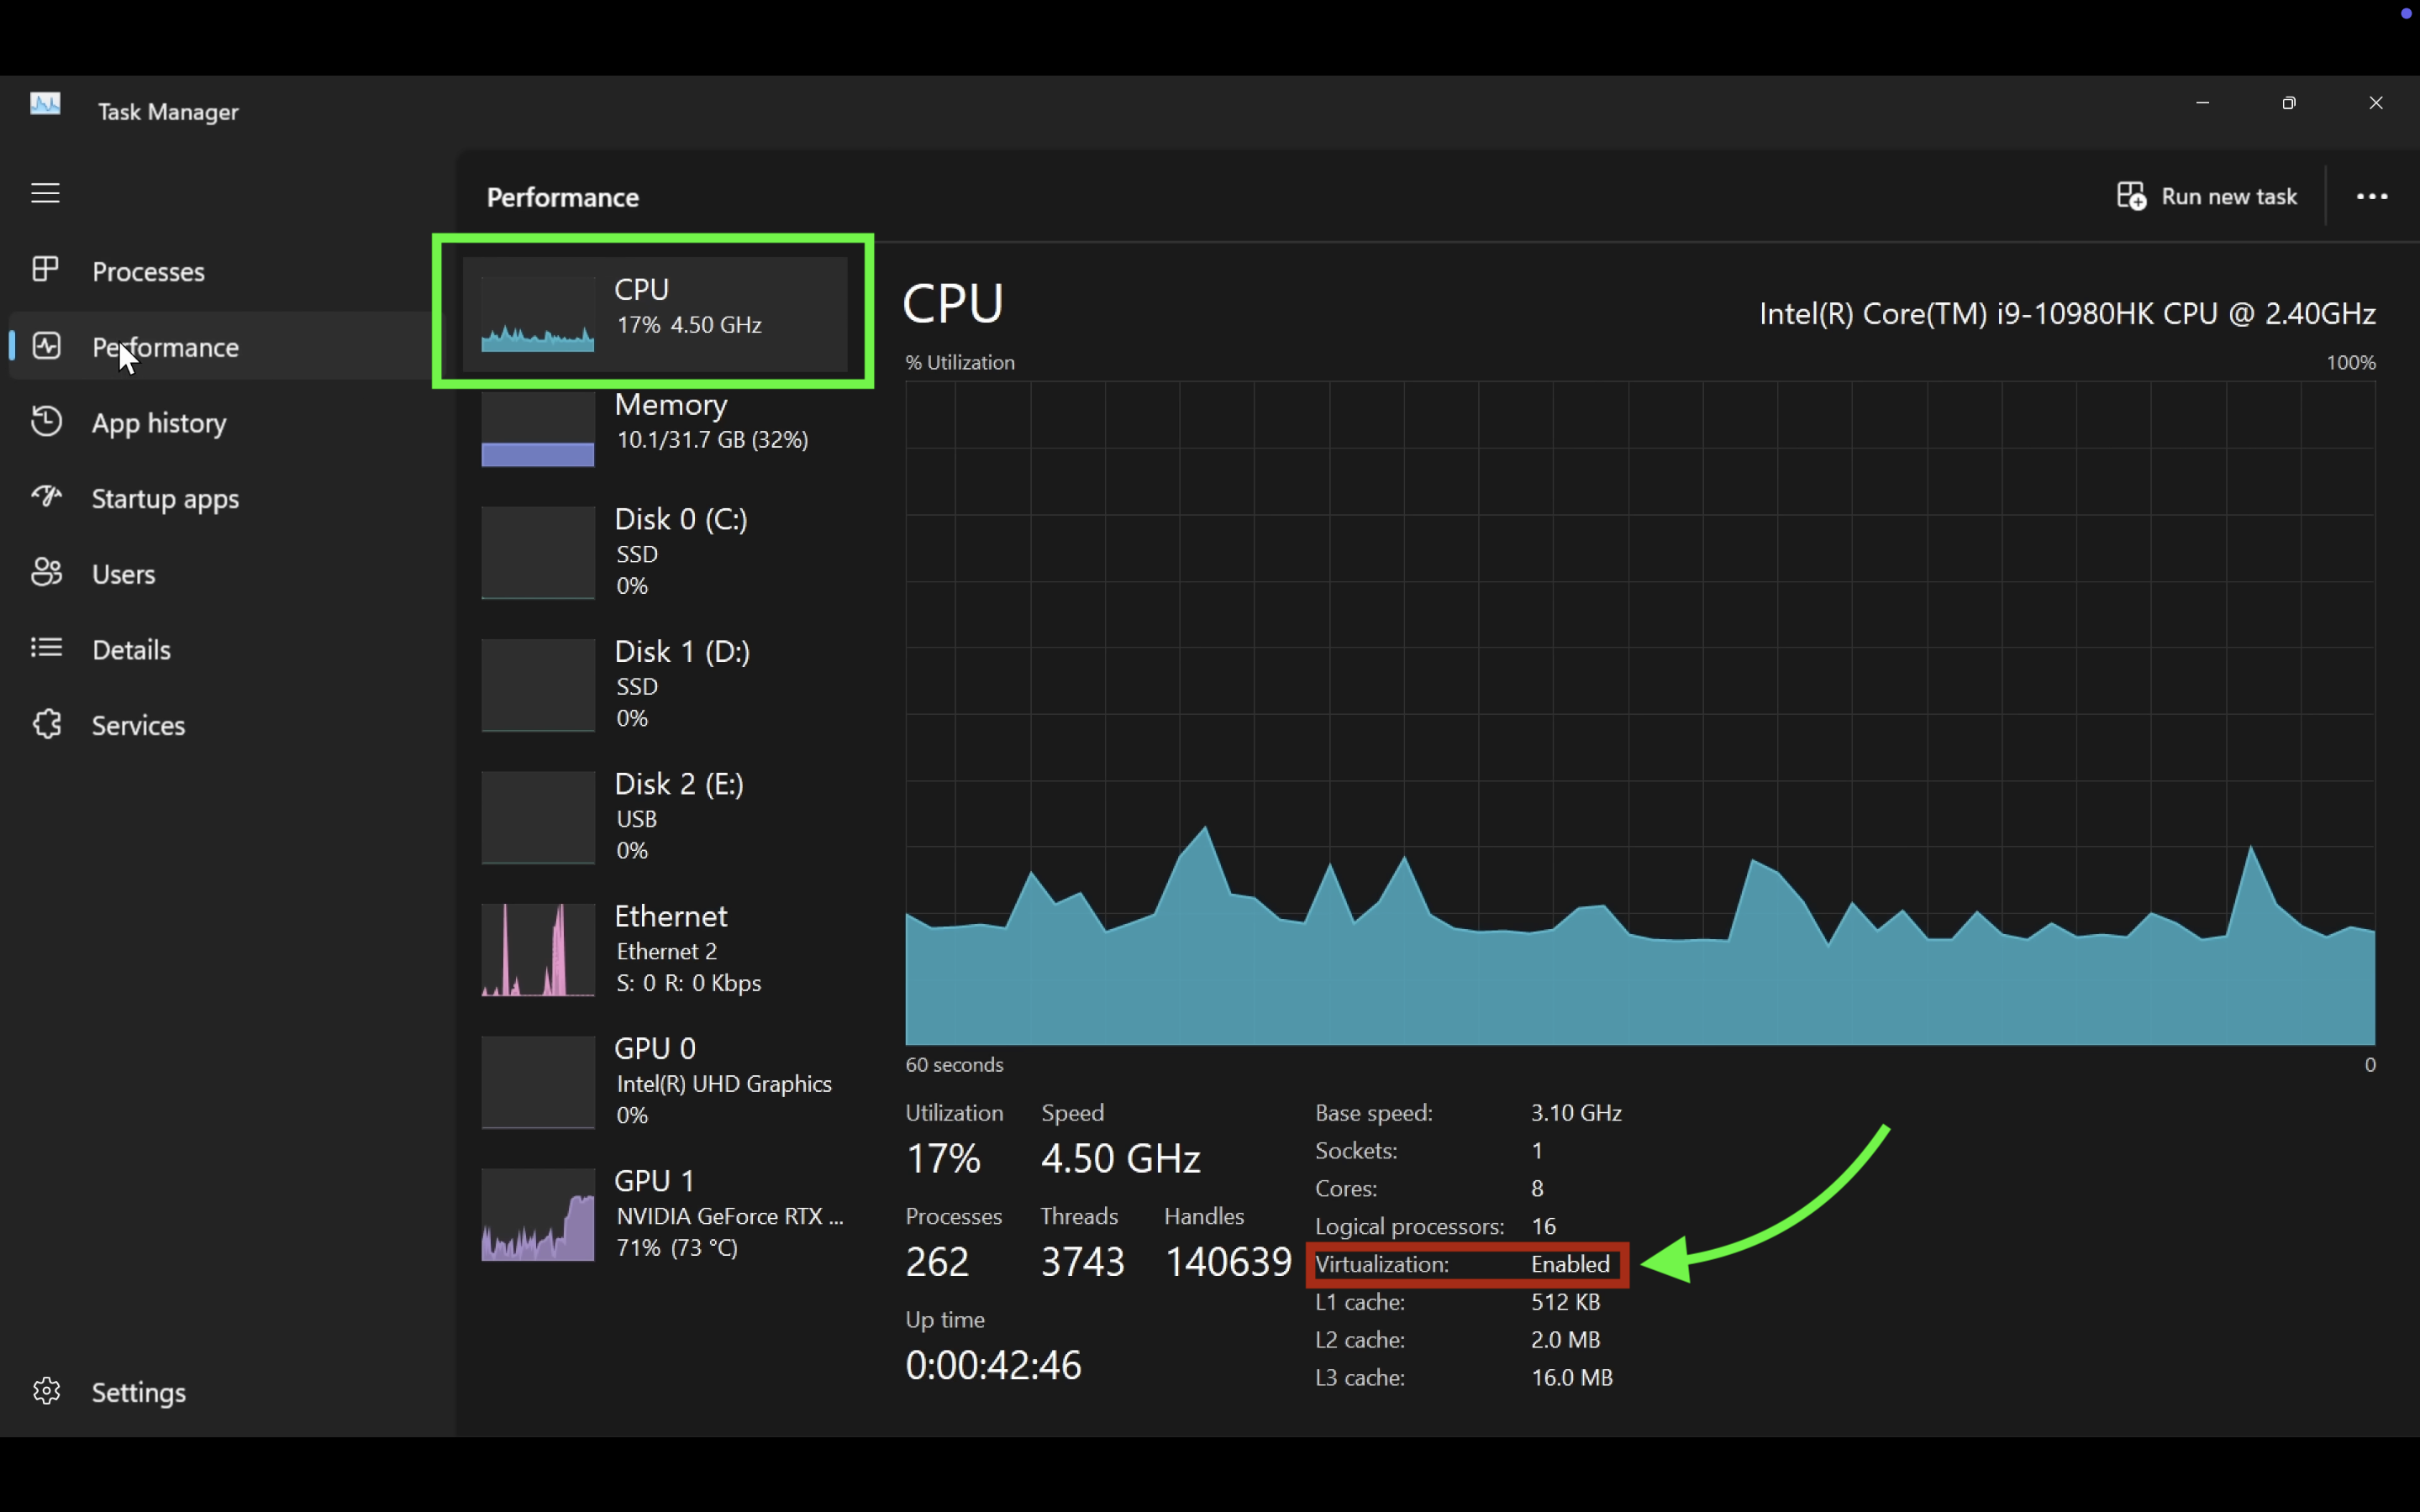
Firstly you will need to enable virtualization on your windows machine. To check if virtualization is enabled, open the task-manager, then open the cpu panel, then check if virtualization is enabled or not.
If virtualization is enabled you can skip the next part.
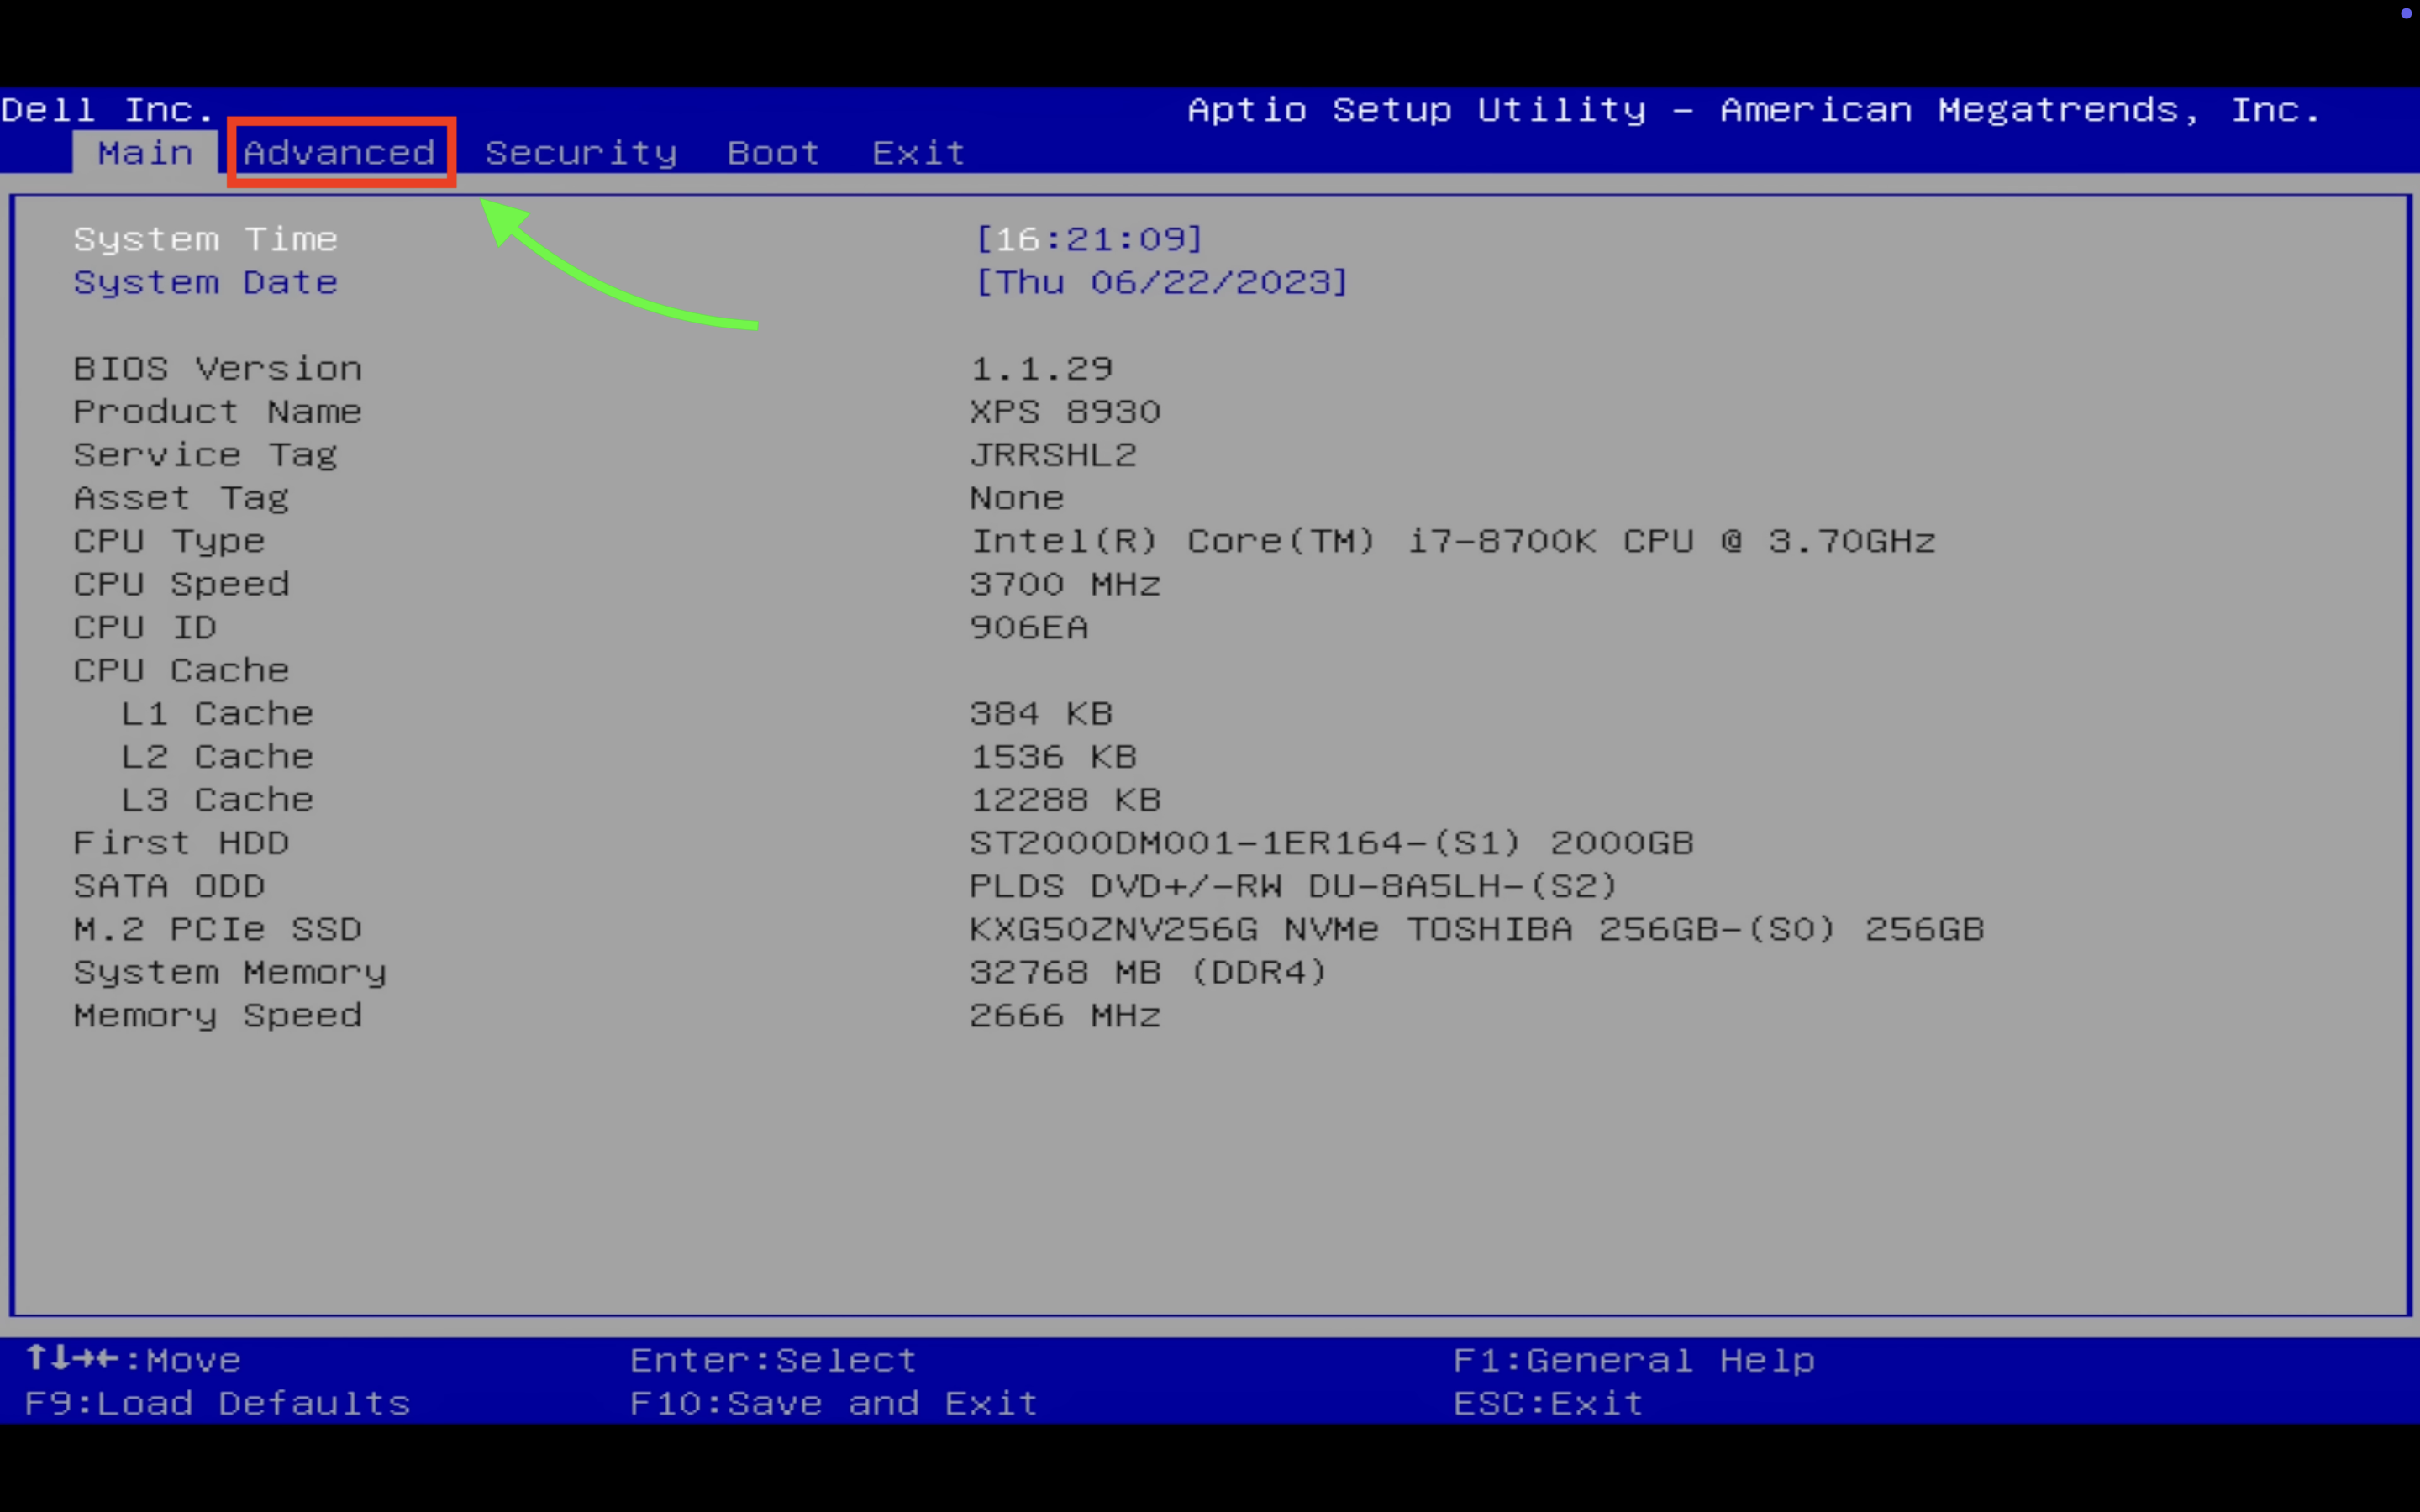
Restart your PC and get into the BIOS. The hotkey to enter the BIOS can depend on the manufacturer, so quickly google that and check what is the hotkey for your respective manufacturer. The most common hotkeys are F2, F9 - F12, esc or del key. So if you don't find what's your hotkey, just spam all those common hotkeys ;)
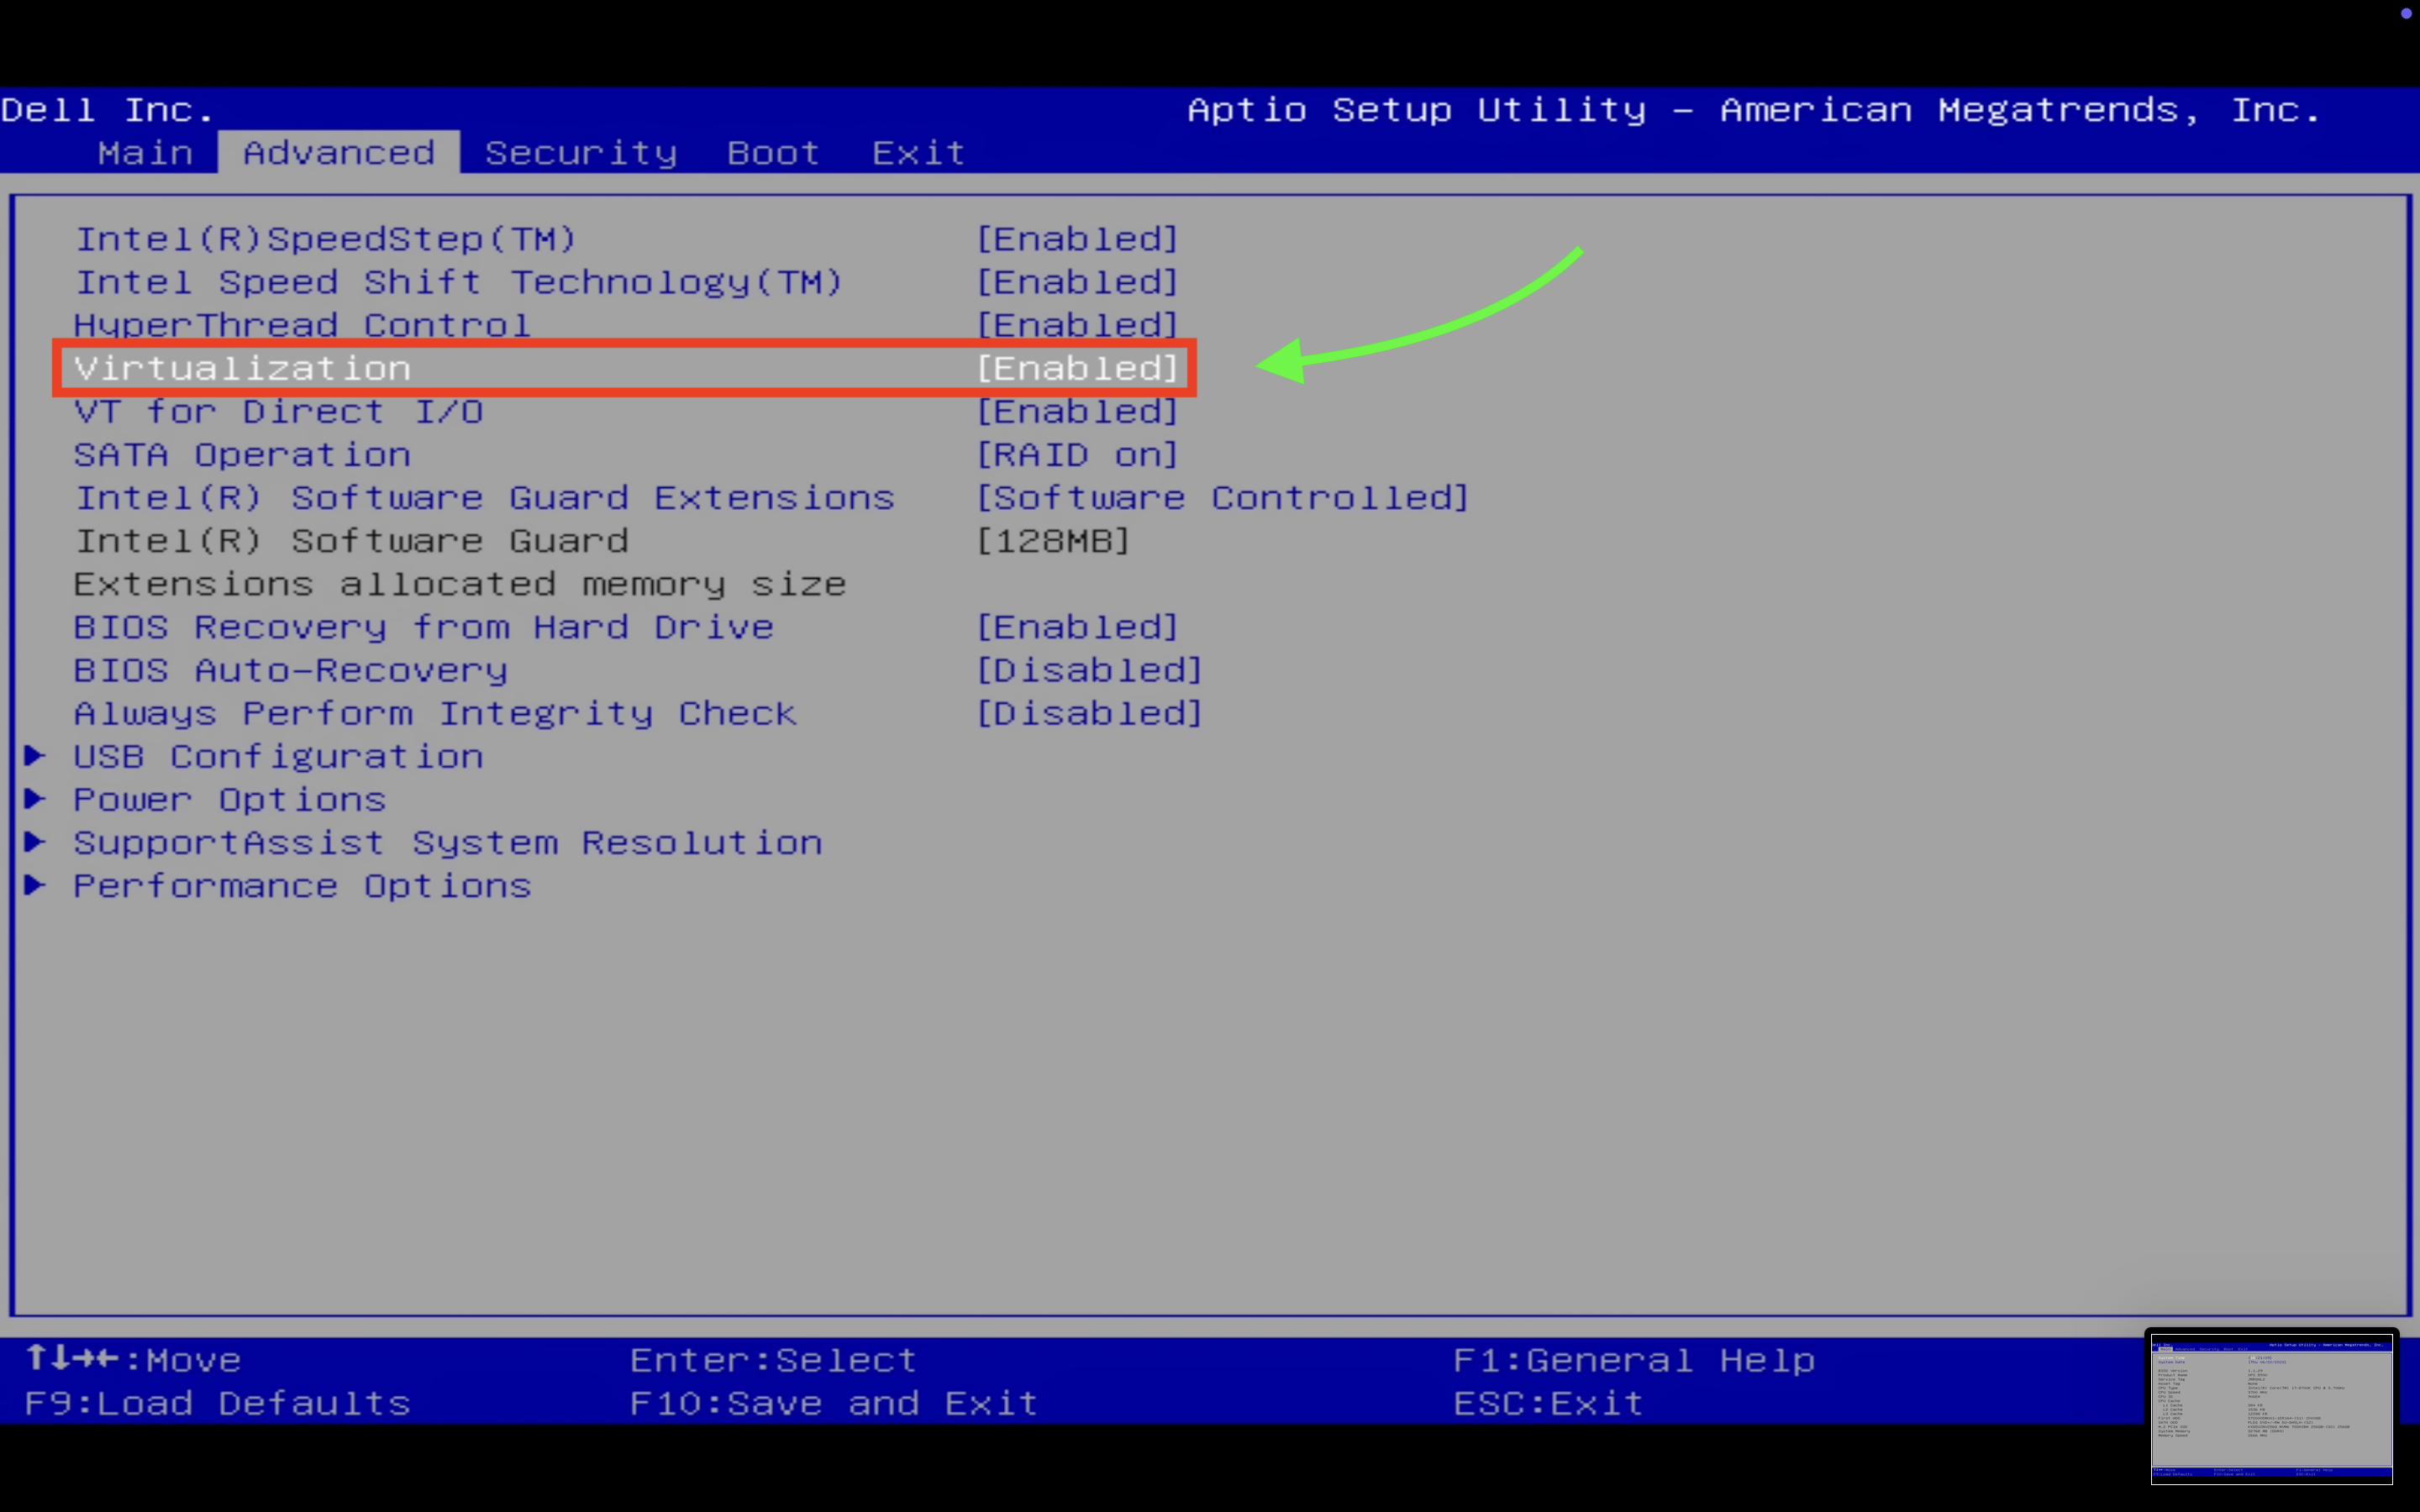
Once you're in the BIOS try to find the 'virtualization' tab and turn it to enabled. This process also differs for different manufacturers. I shall however list an example below:
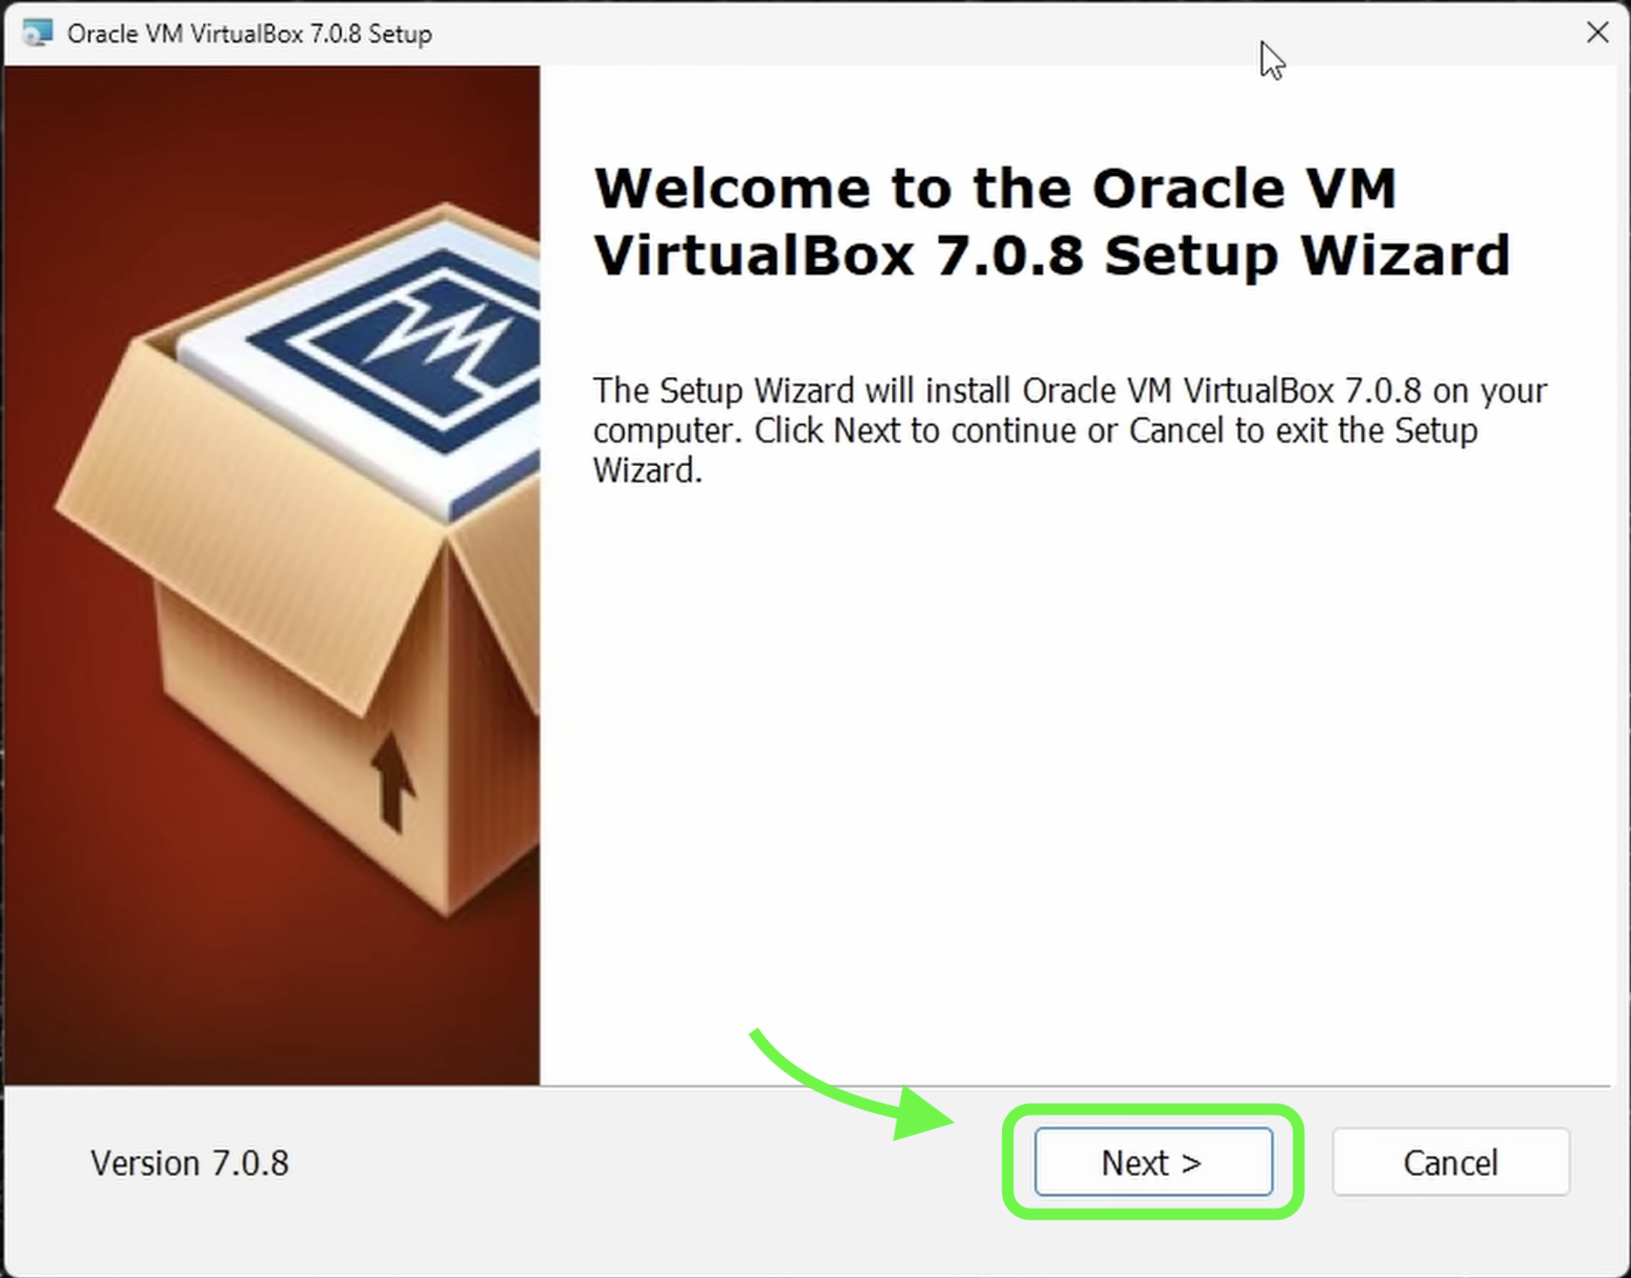
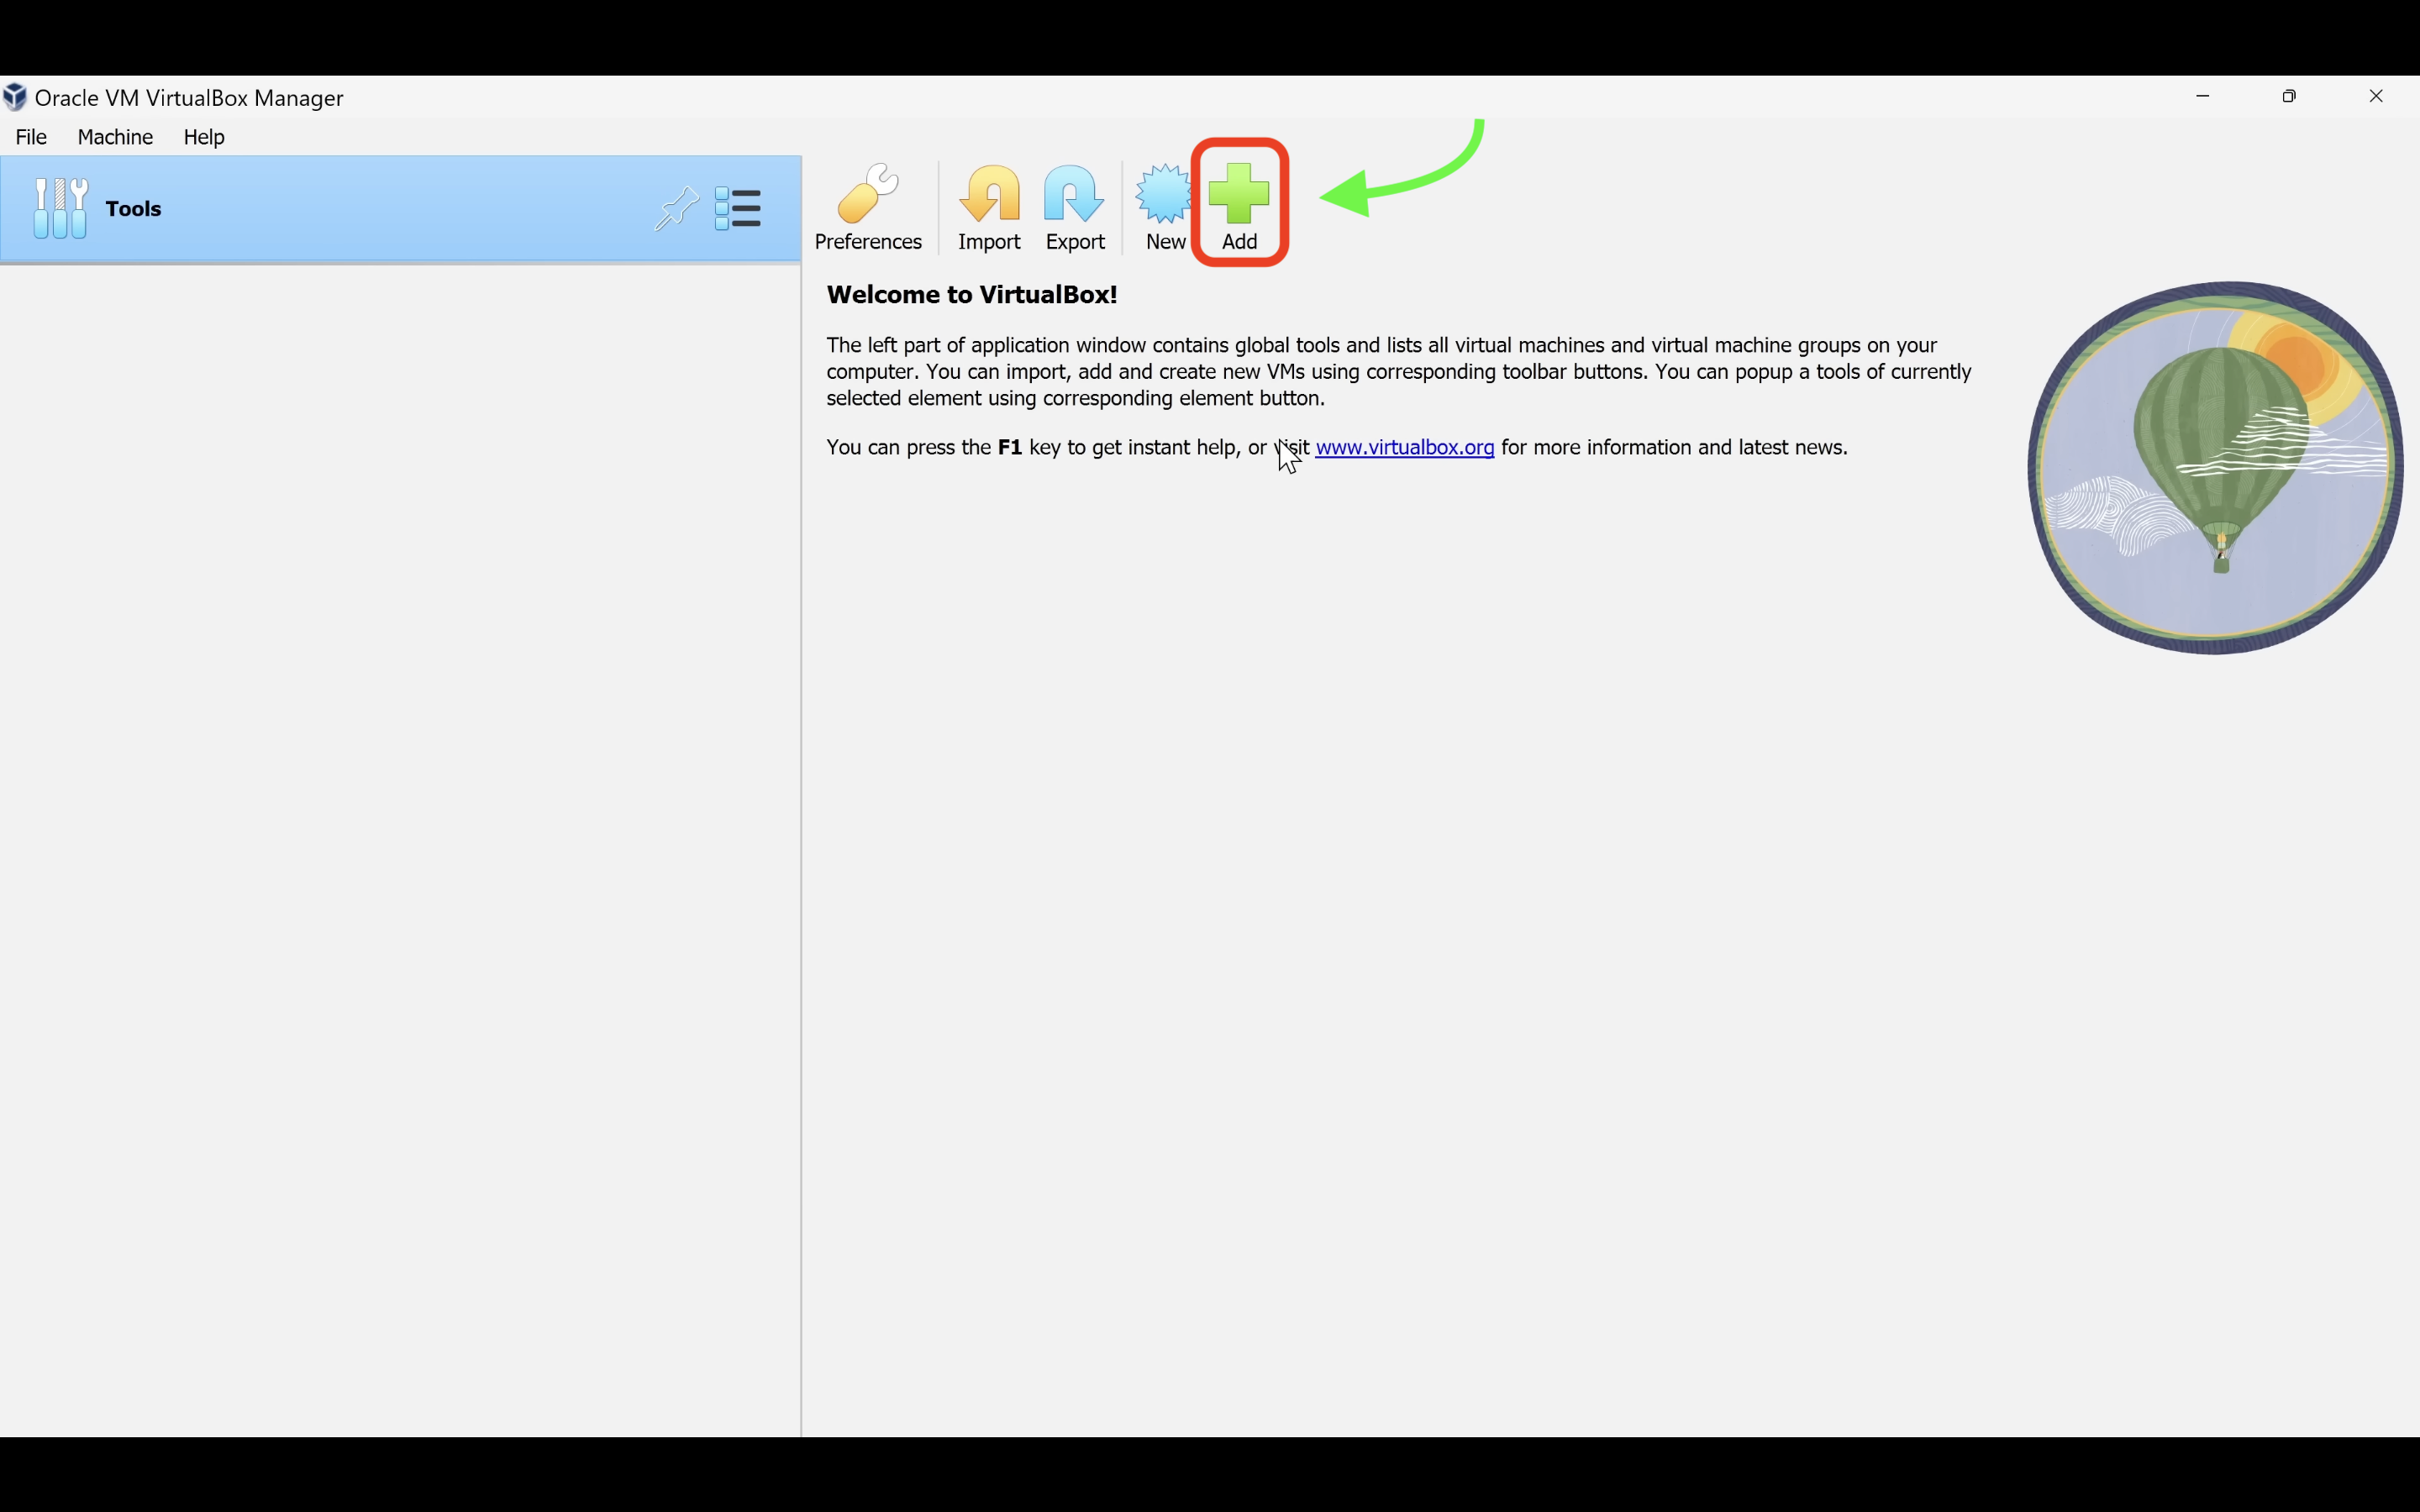
You can downoad any Hypervisor that you wish to, but for this tutorial we are going to be installing Oracle Virtual Box.
Download from here : Downloads – Oracle VirtualBox
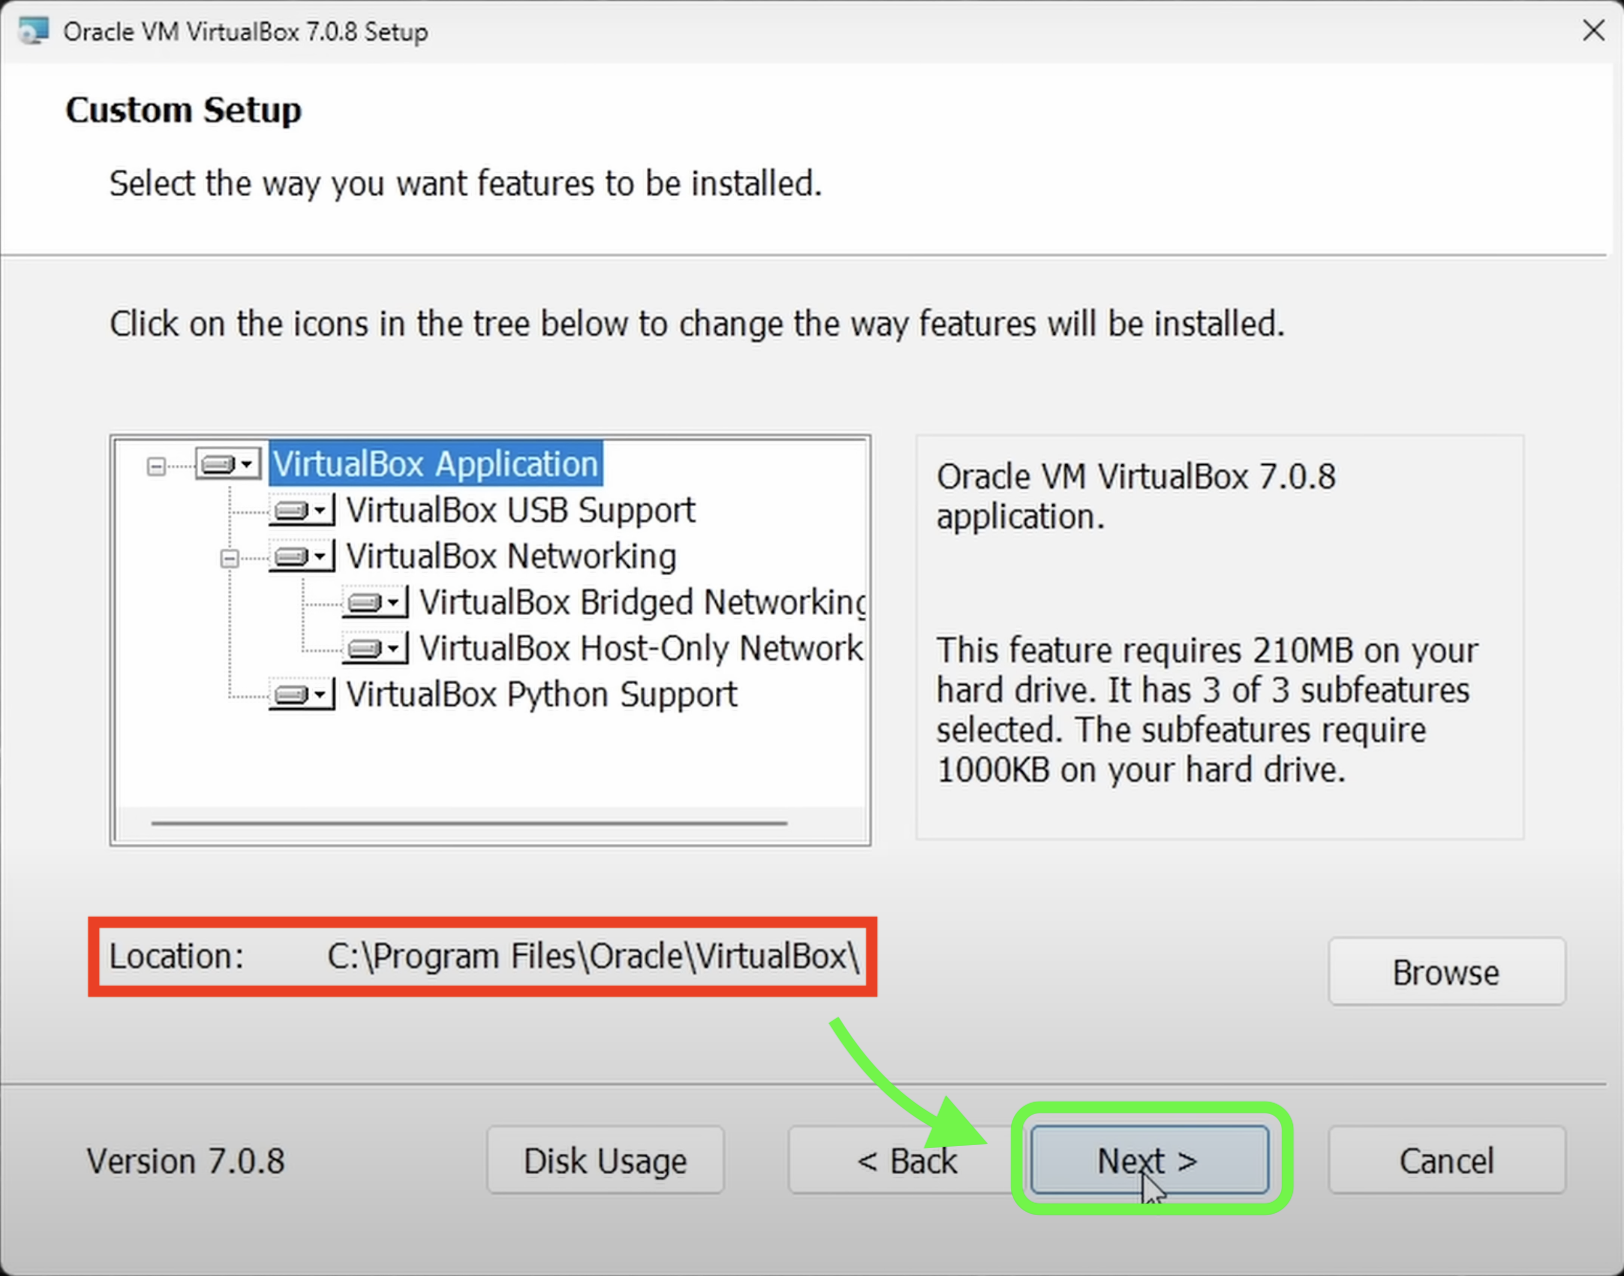
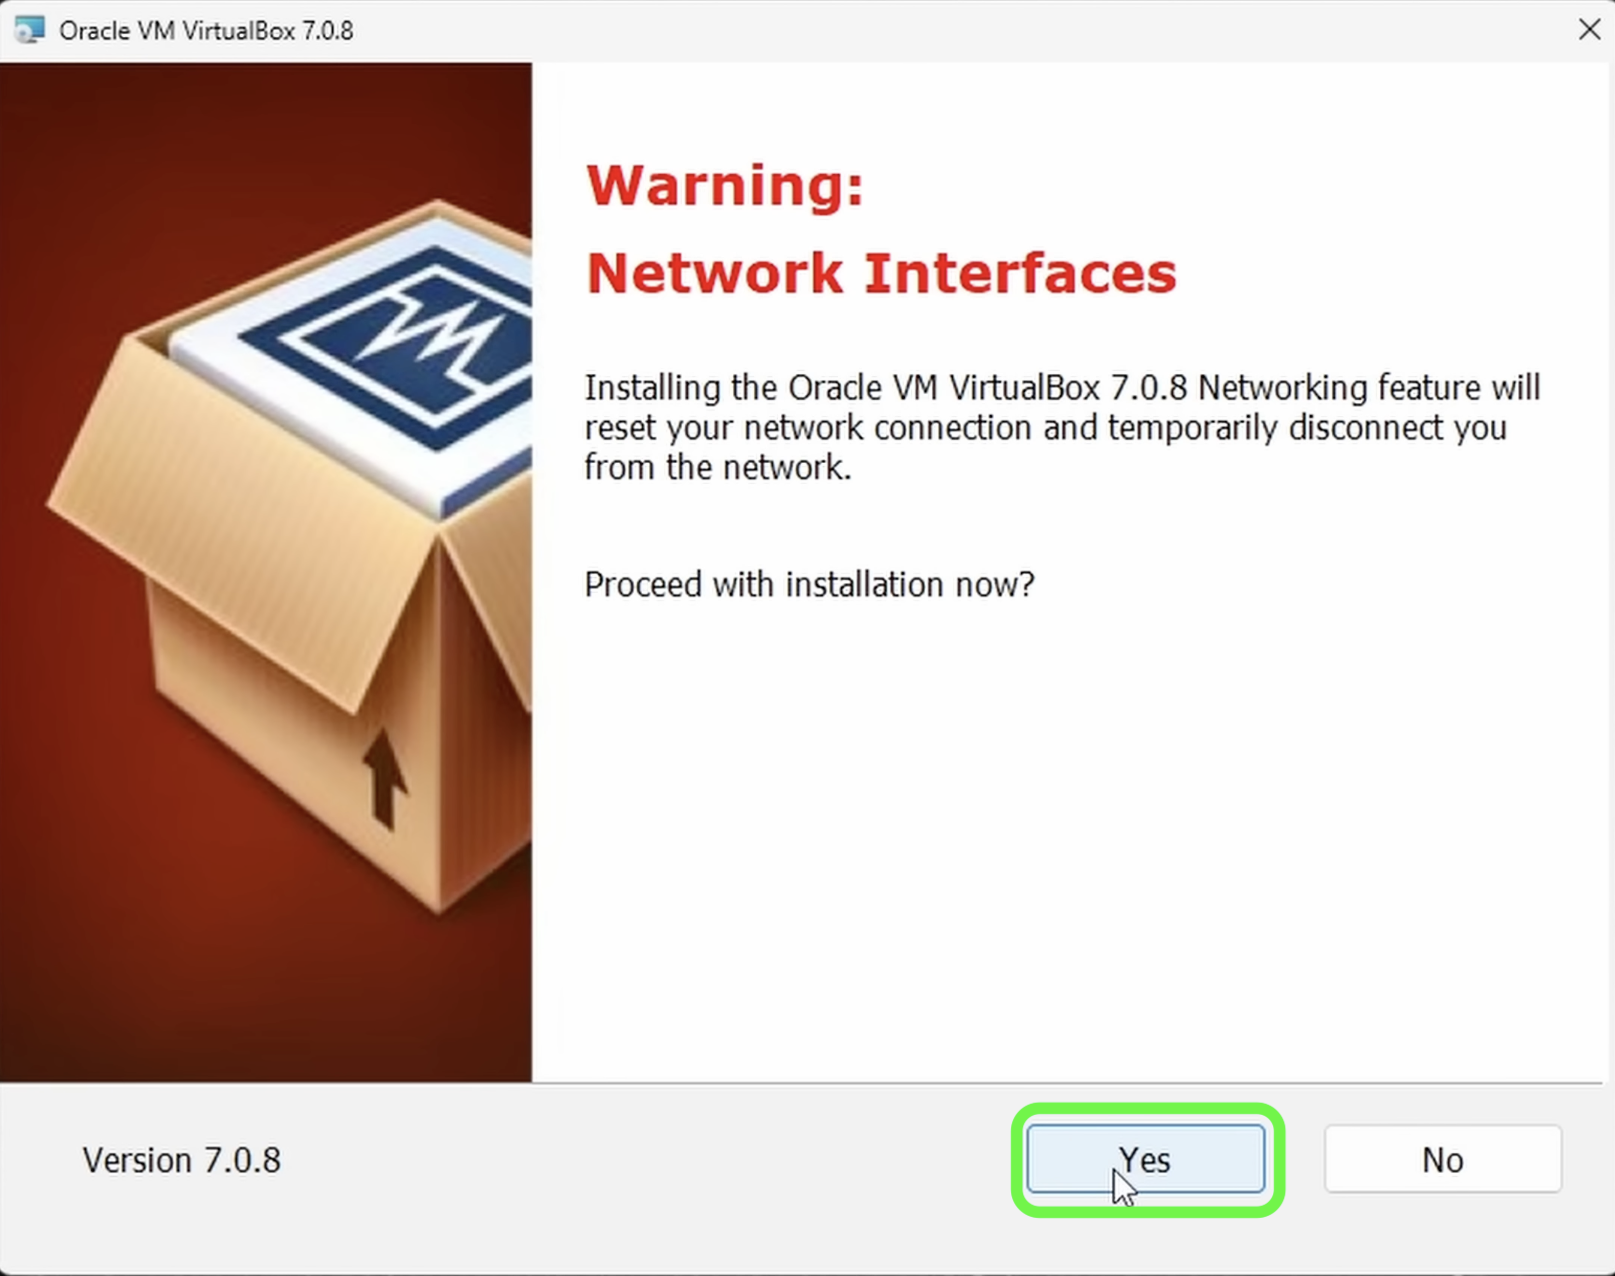
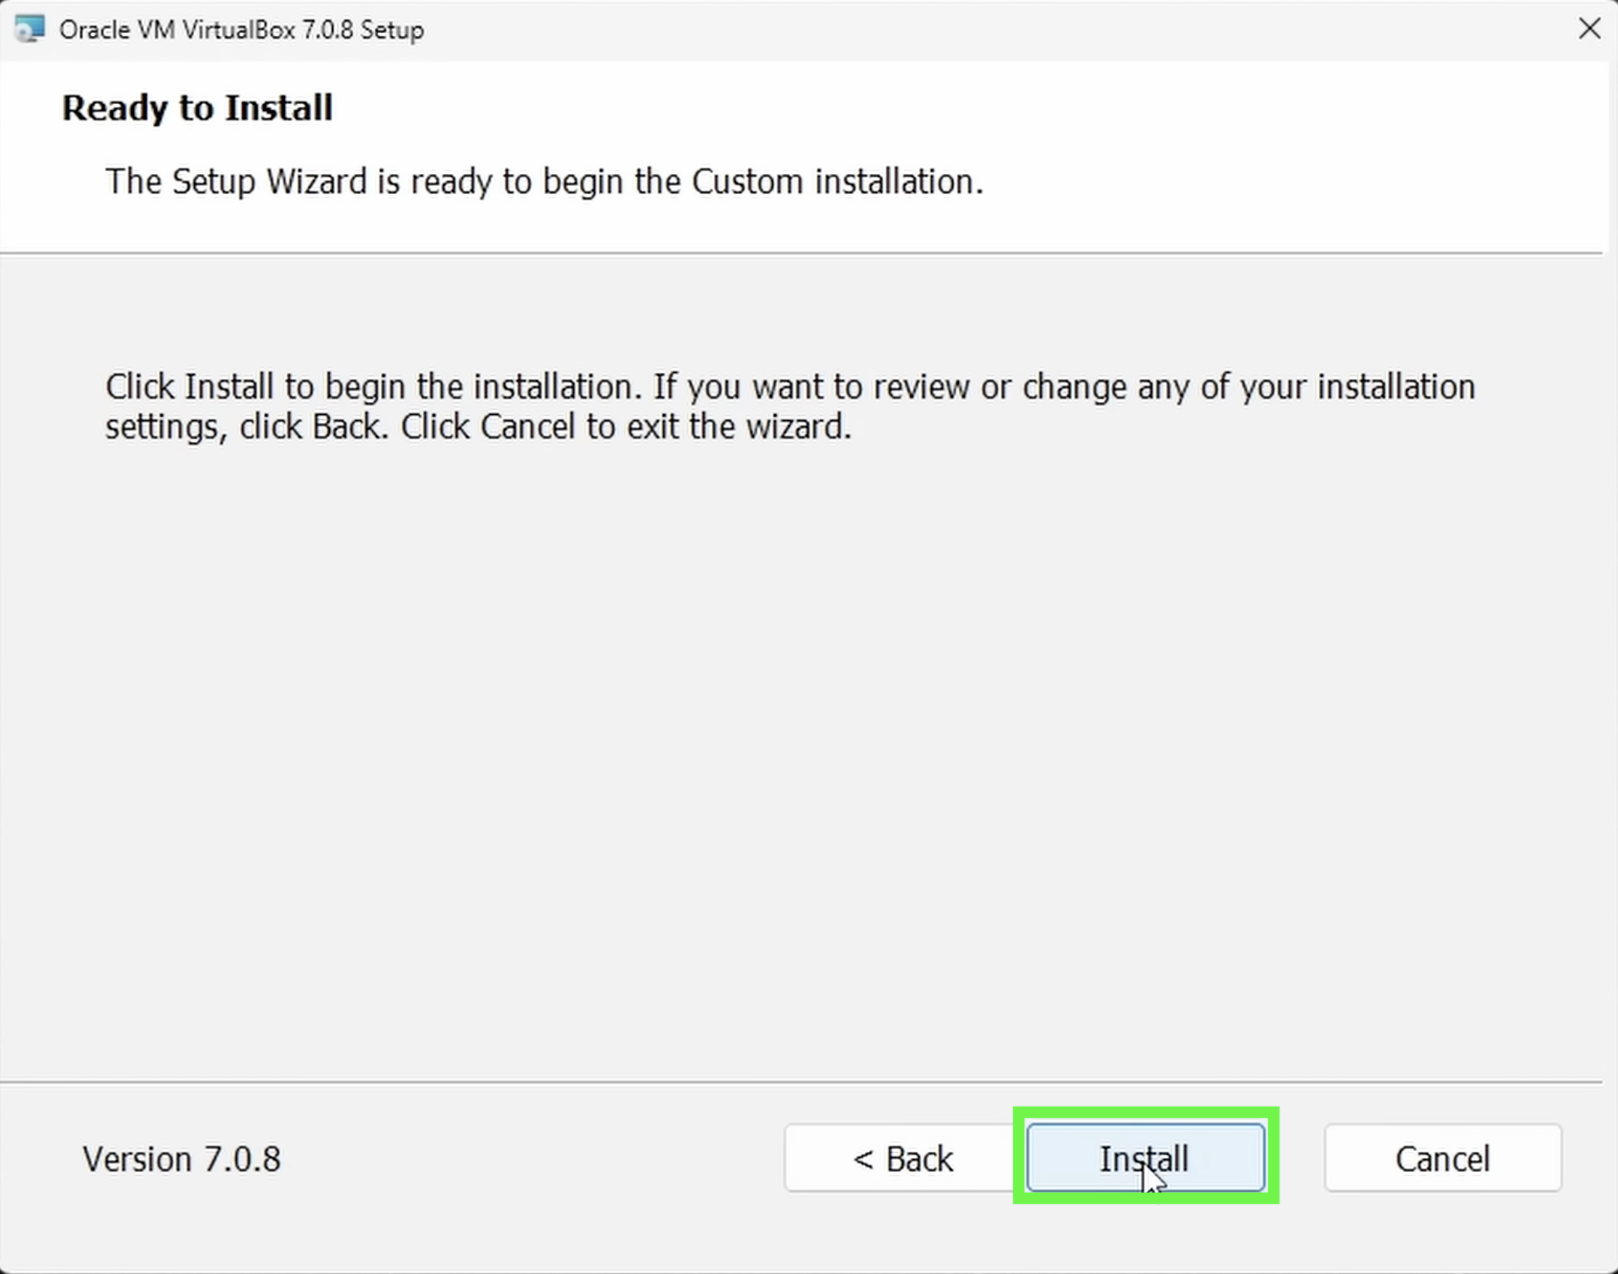
Once you download it, go through the installation process. Make sure you install Virtual Box in the C drive where Windows lives, else it tends to not install.
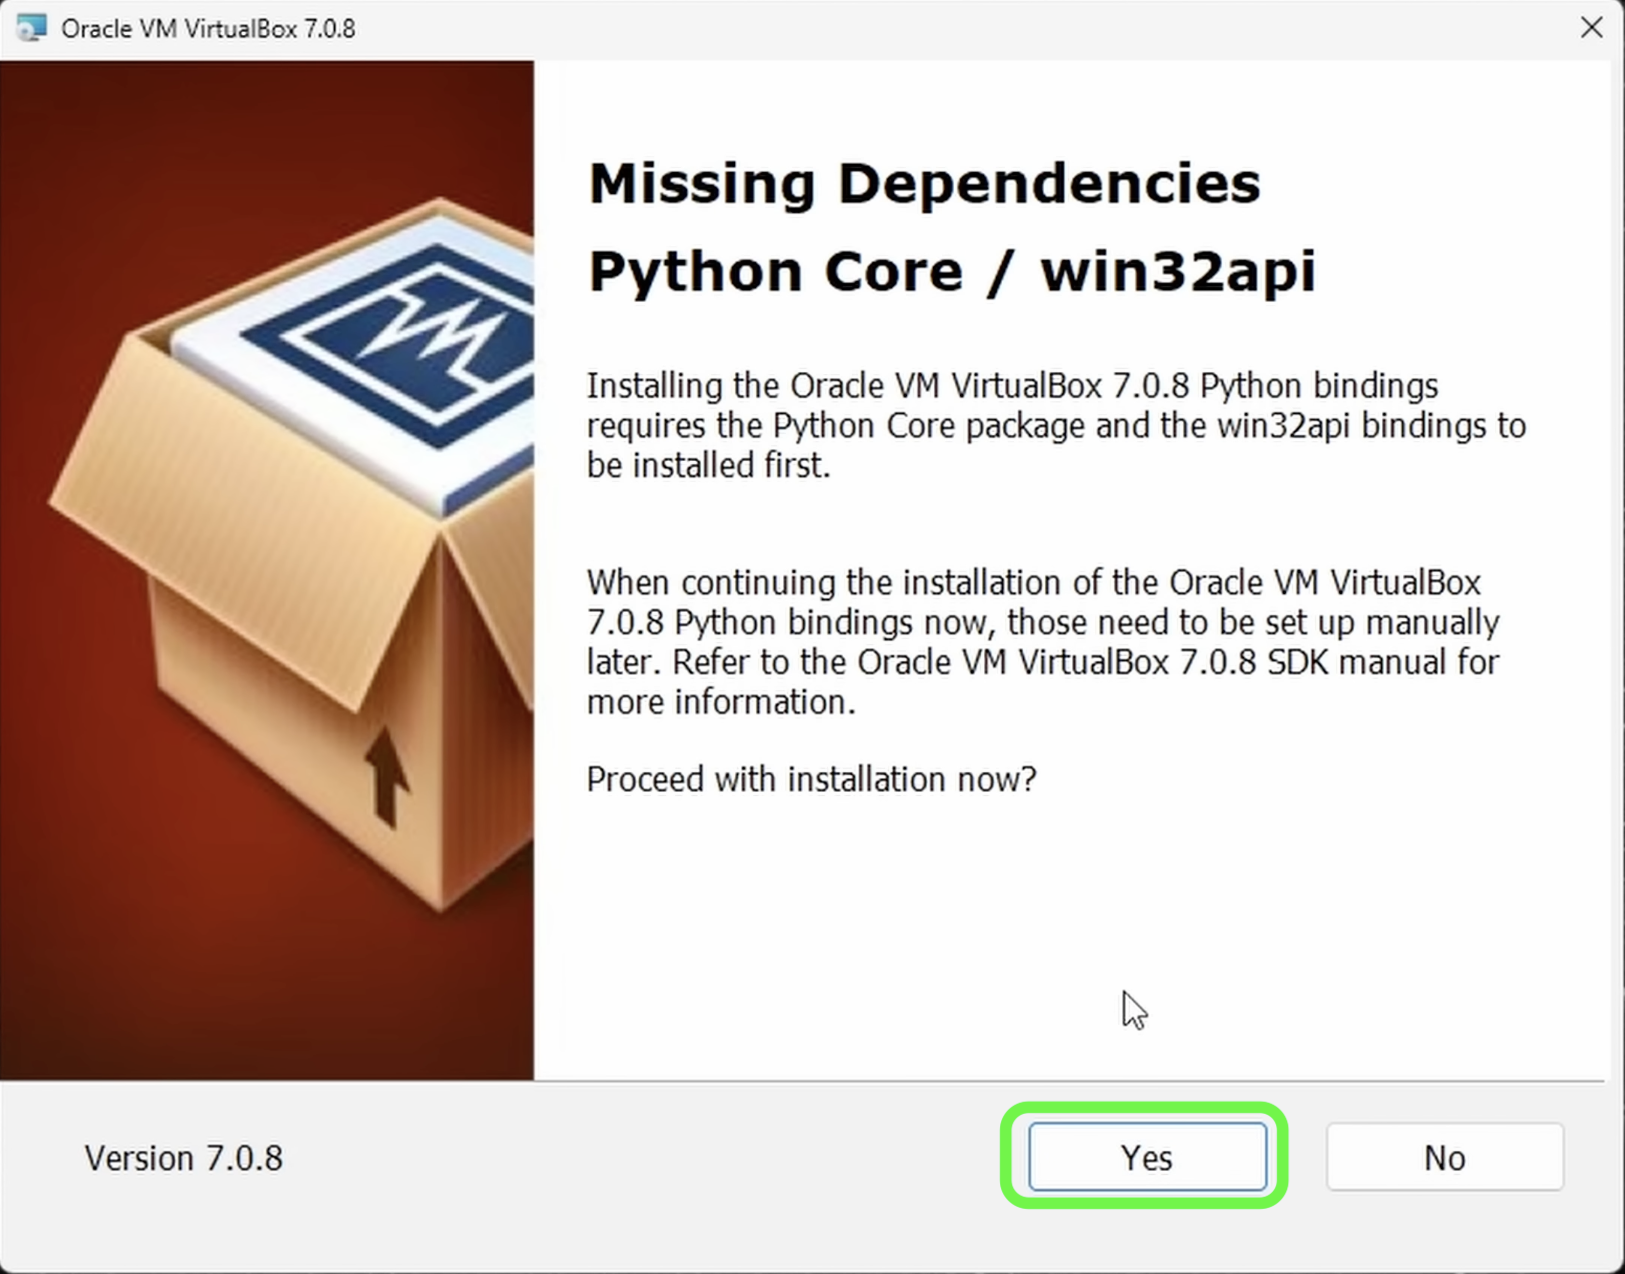
Install any missing dependencies, if necessary. Shown below.
Now we have our Virtual Box setup. Now all thats left is the get the ISO for the operating system we need to run inside our virtual machine. Feel free to try out any linux distro you would like to. For this tutorial I'm going to be installing Ubuntu.
Ubuntu ISO can be found here : Download - Ubuntu Desktop ISO
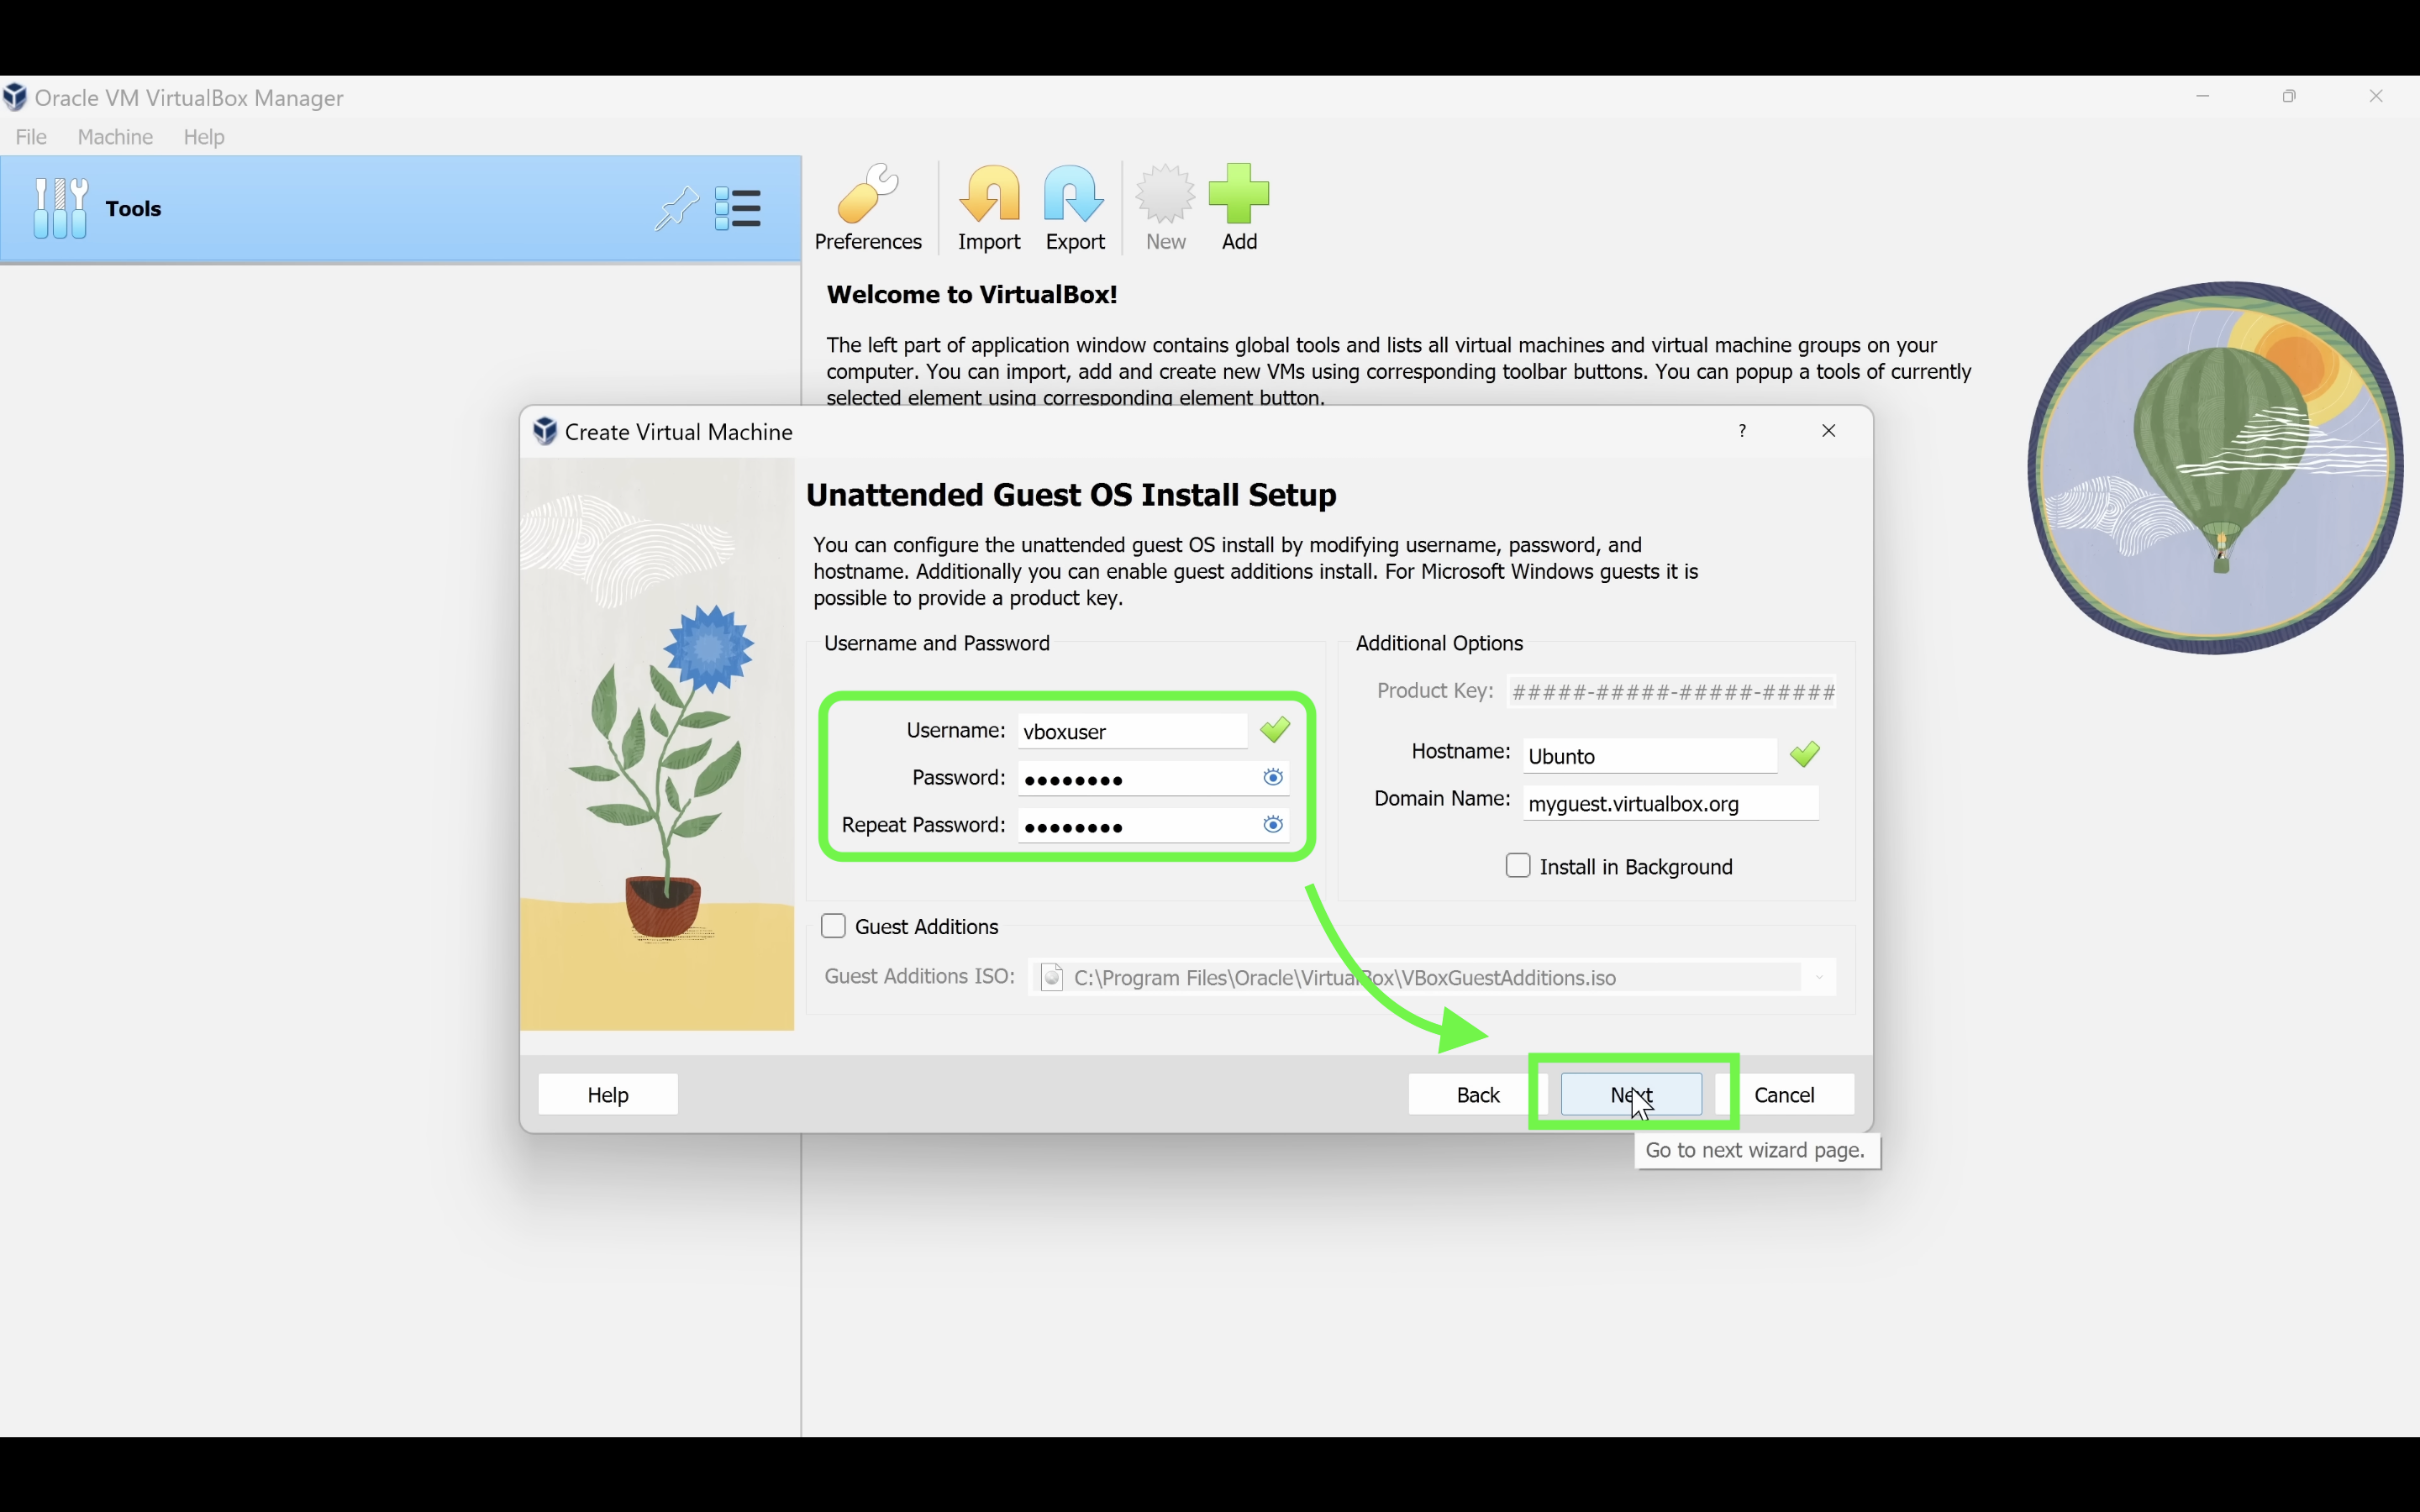
Now let's load this ISO into Virtual Box and get the VM up and running.
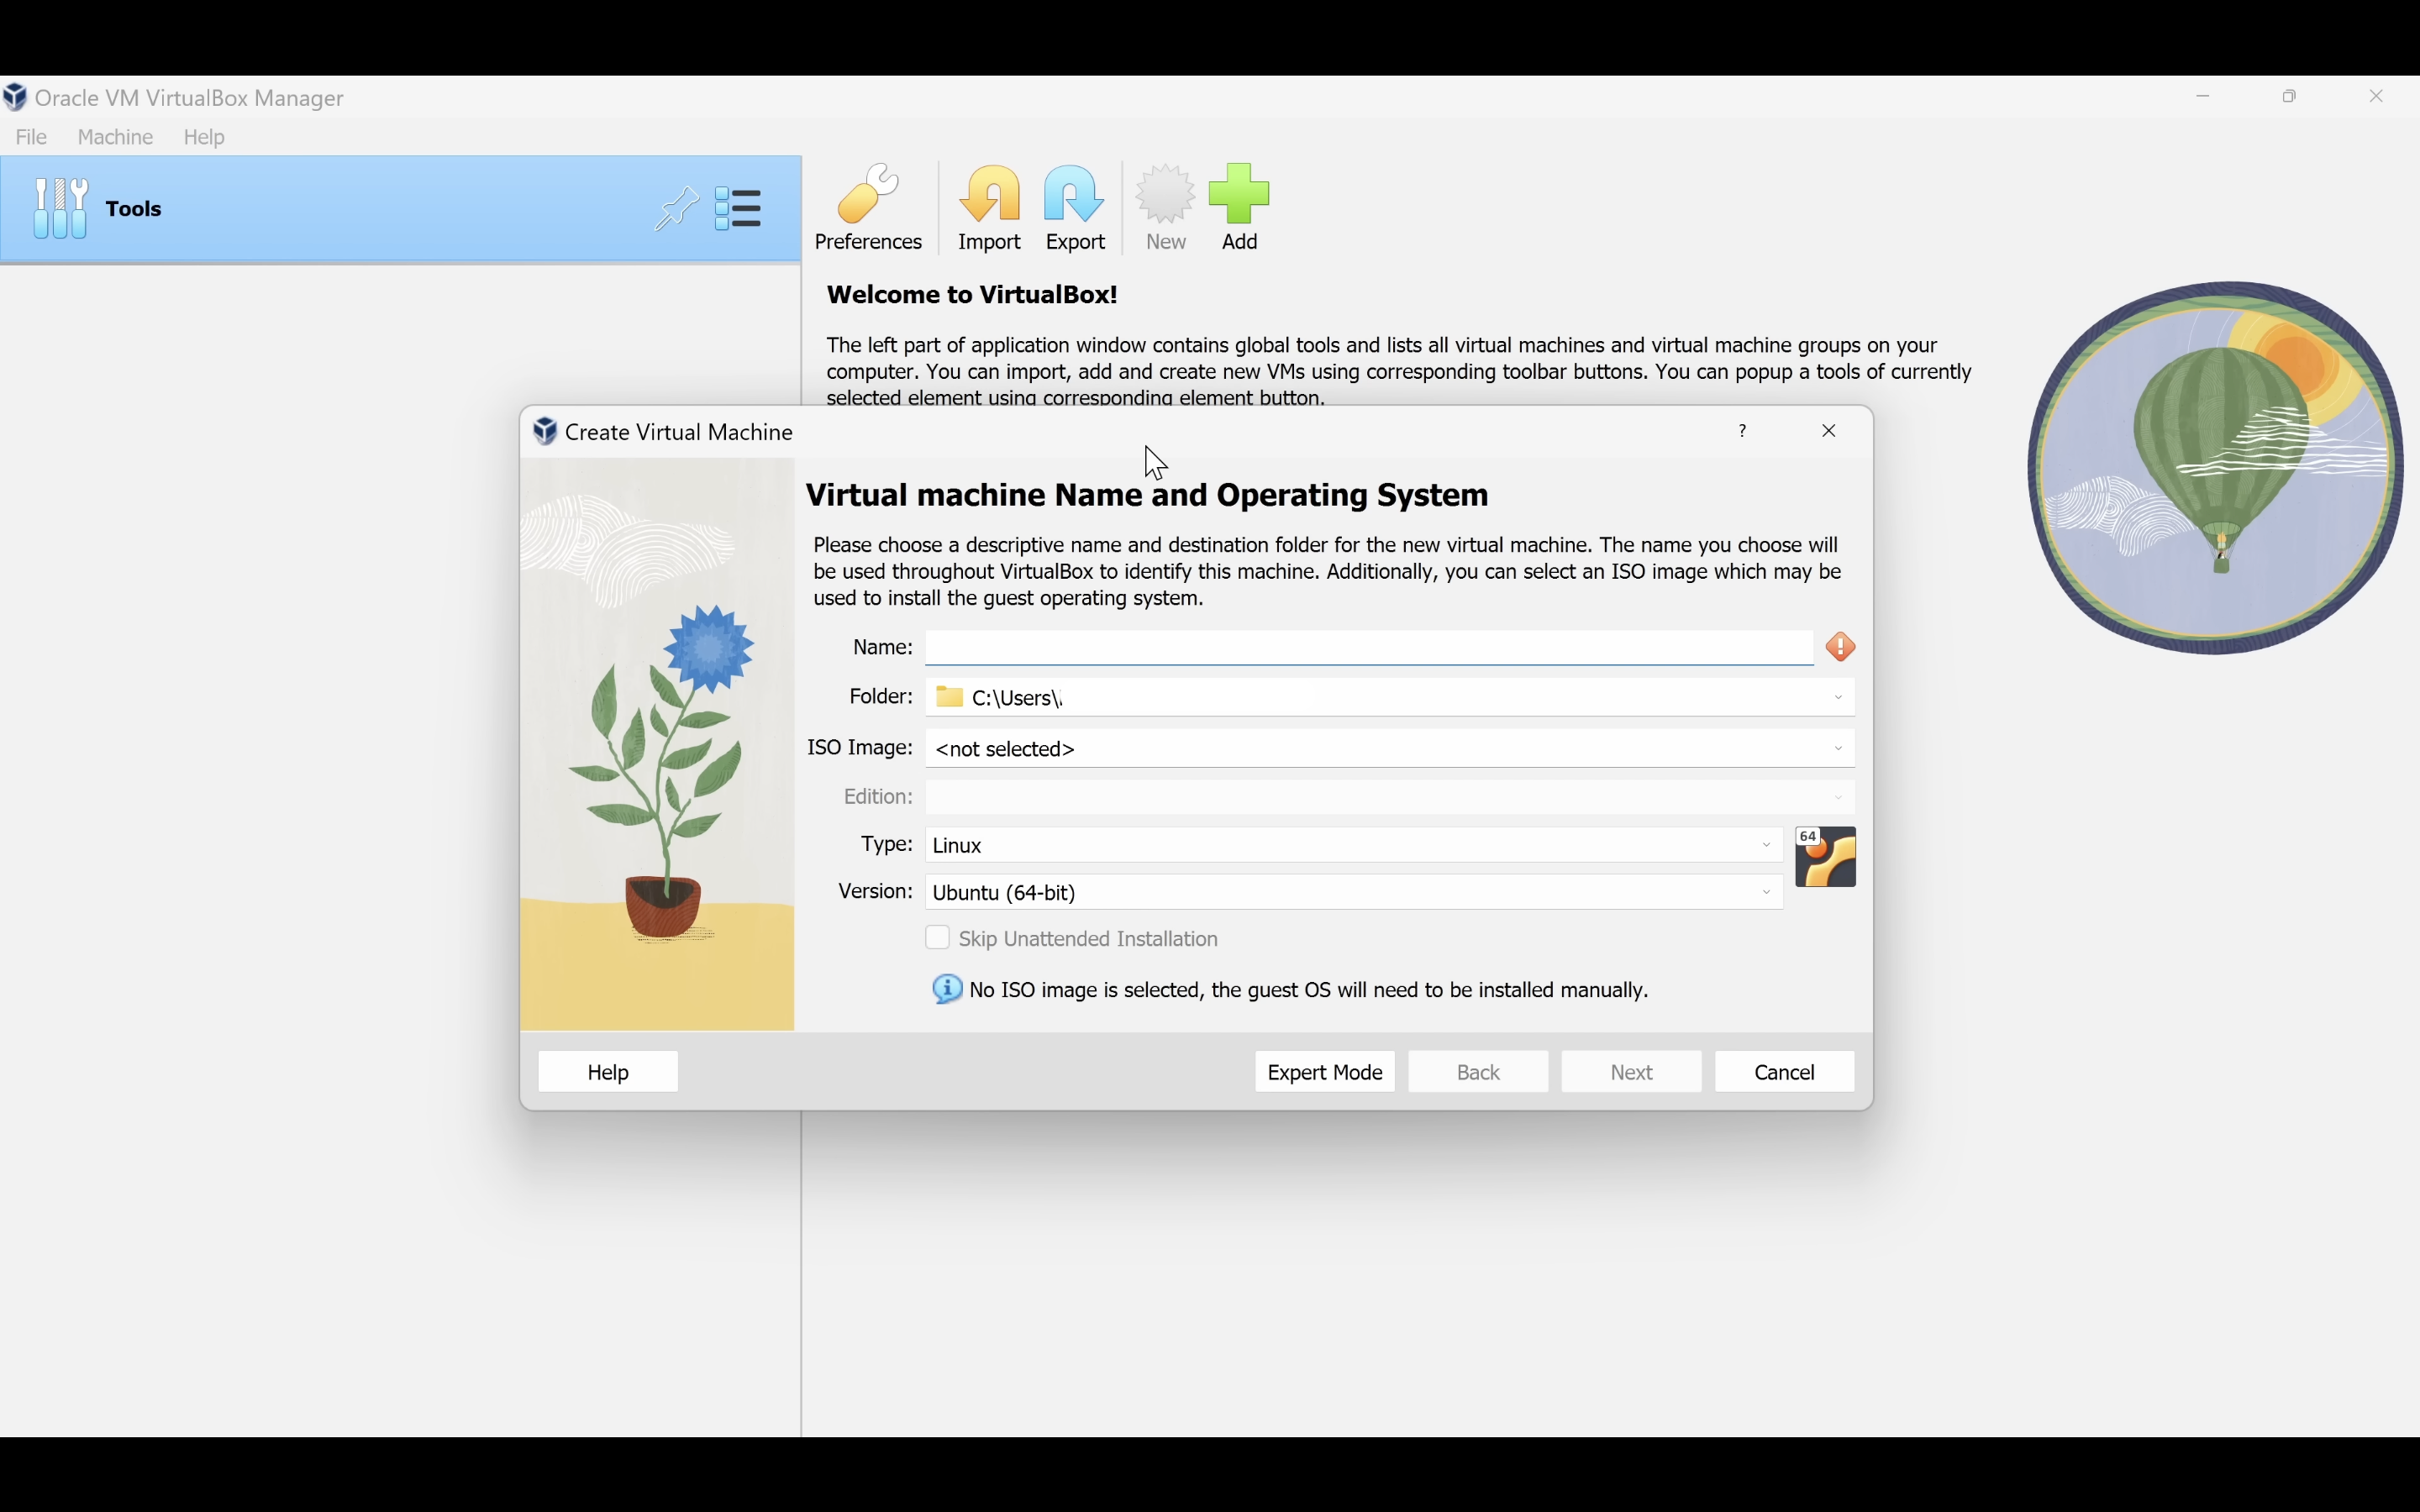
Create a name for the VM, and select the location of where you installed the ubuntu ISO, then click next.
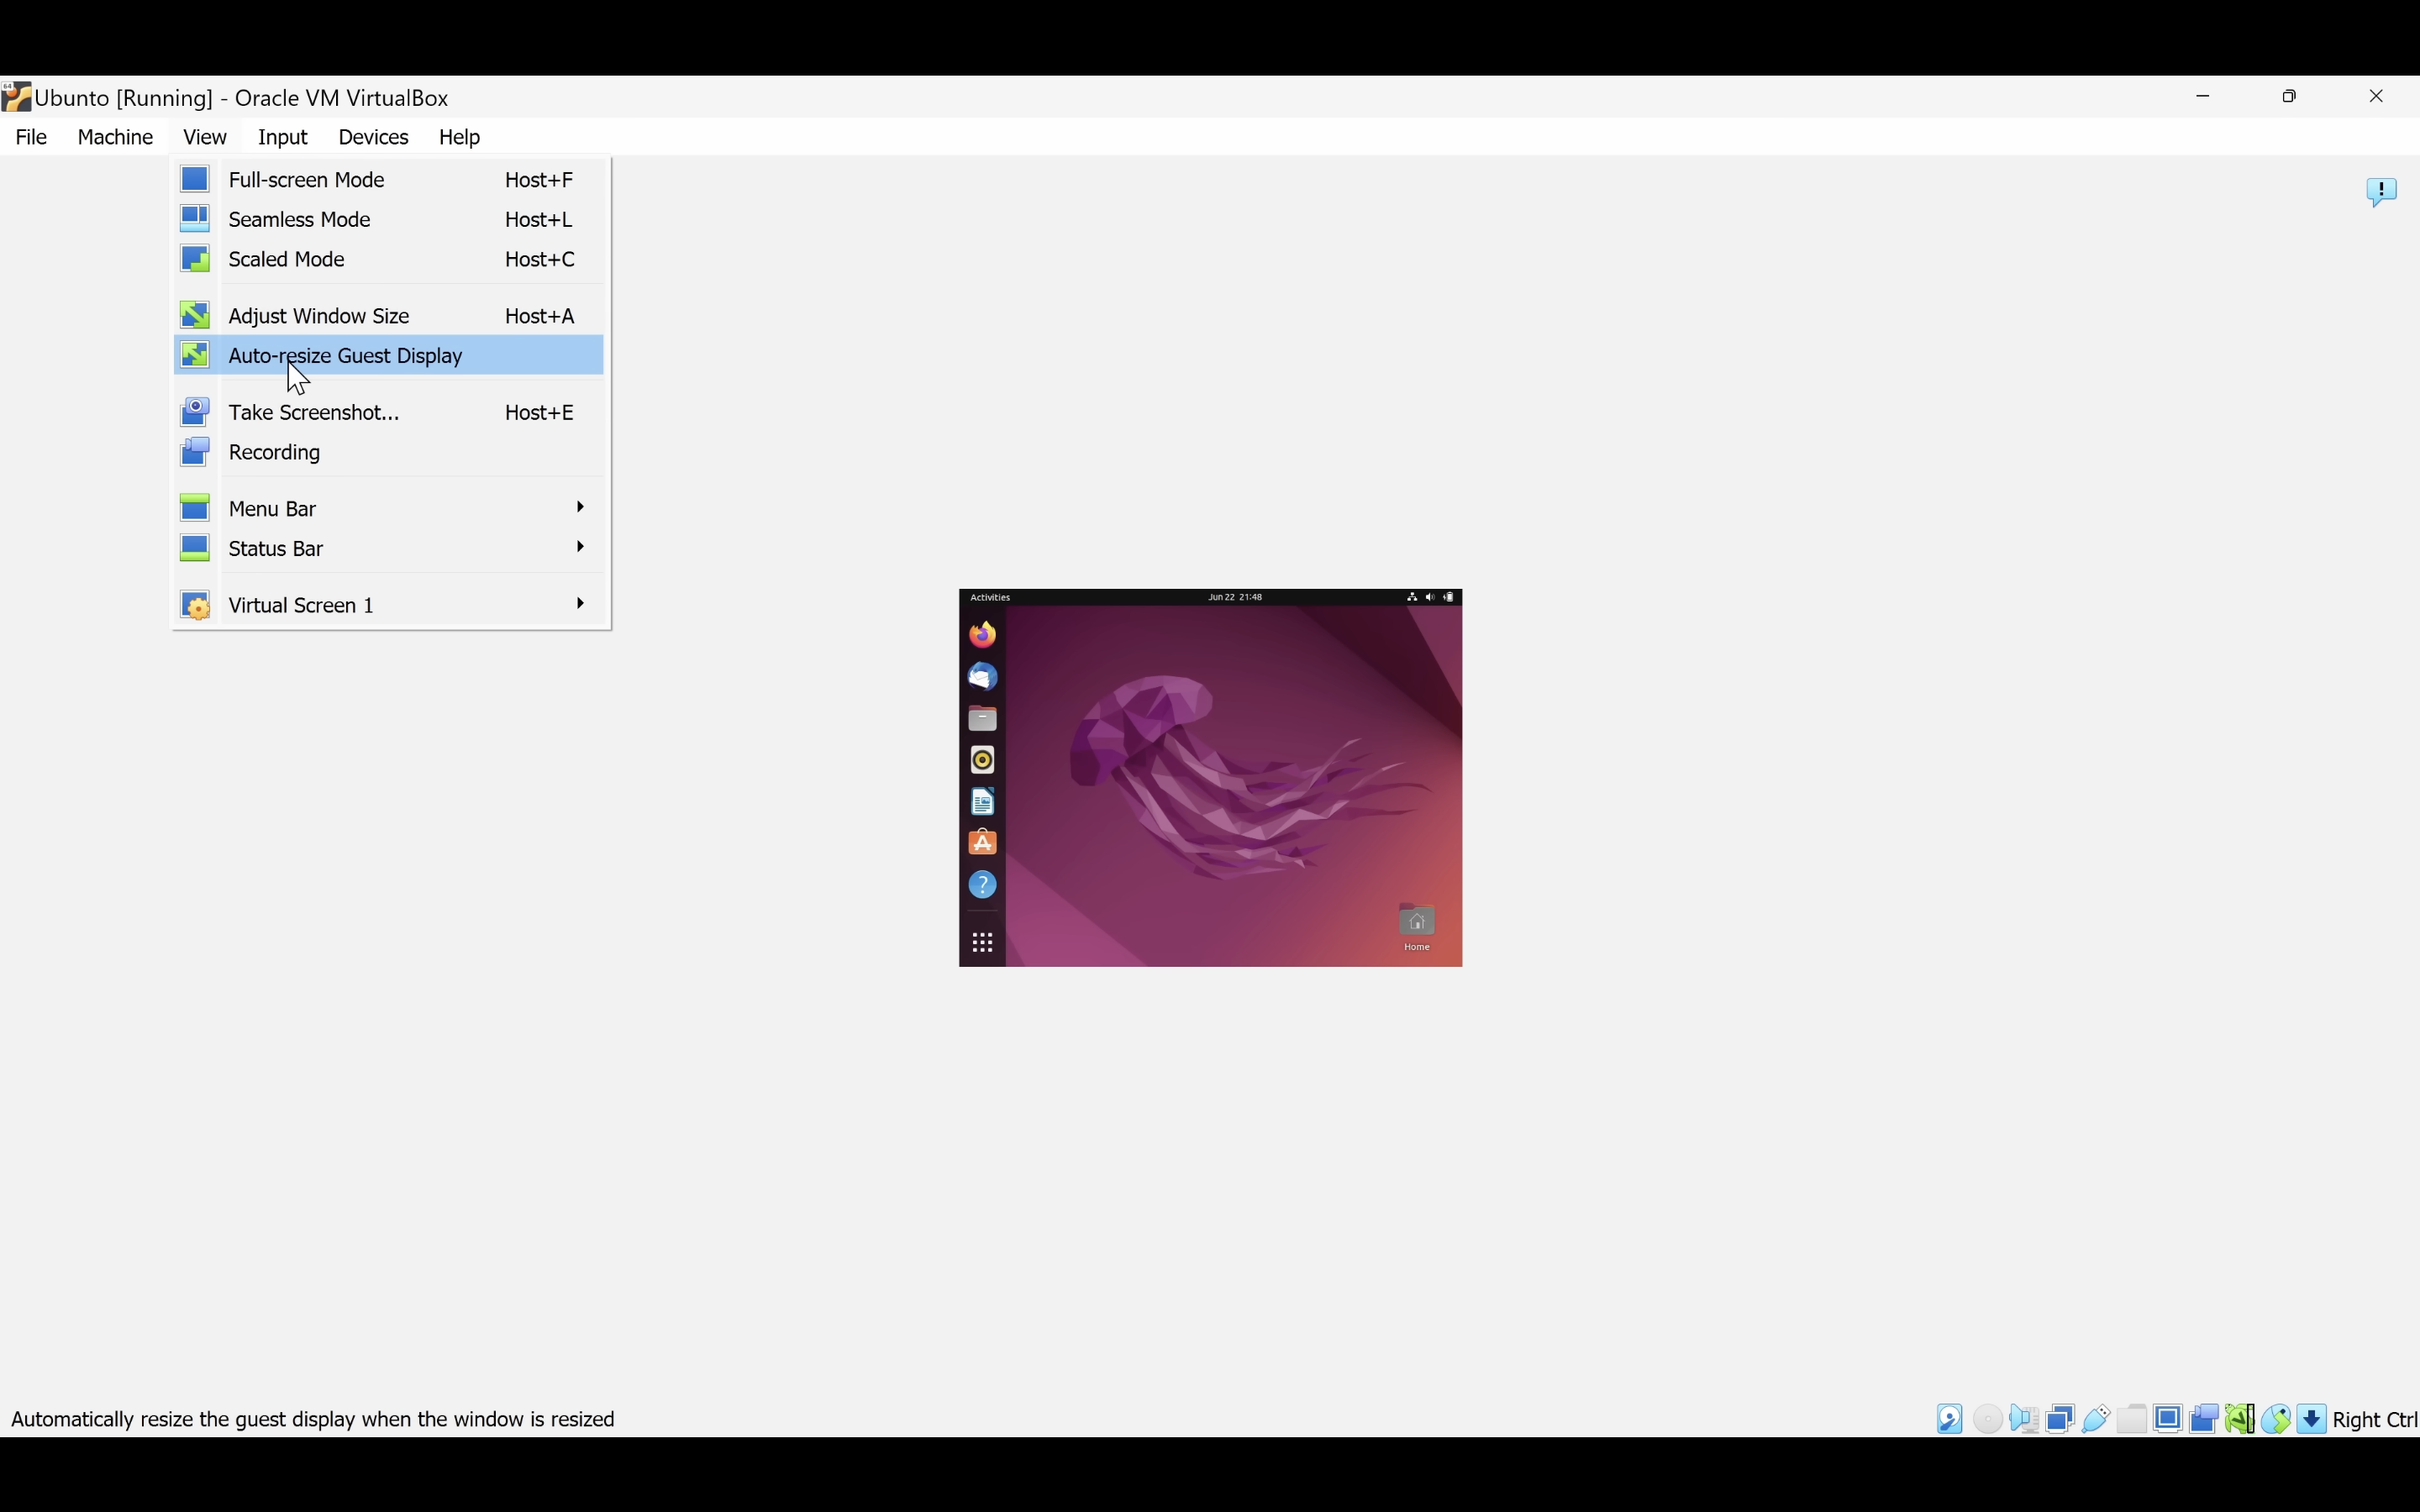
After launching the VM if the windows size is too small , go and select the Display size to 'Auto resize guest display' under the 'View' tab.
We are done with the installation of VM on windows (and done with windows itself xD ).
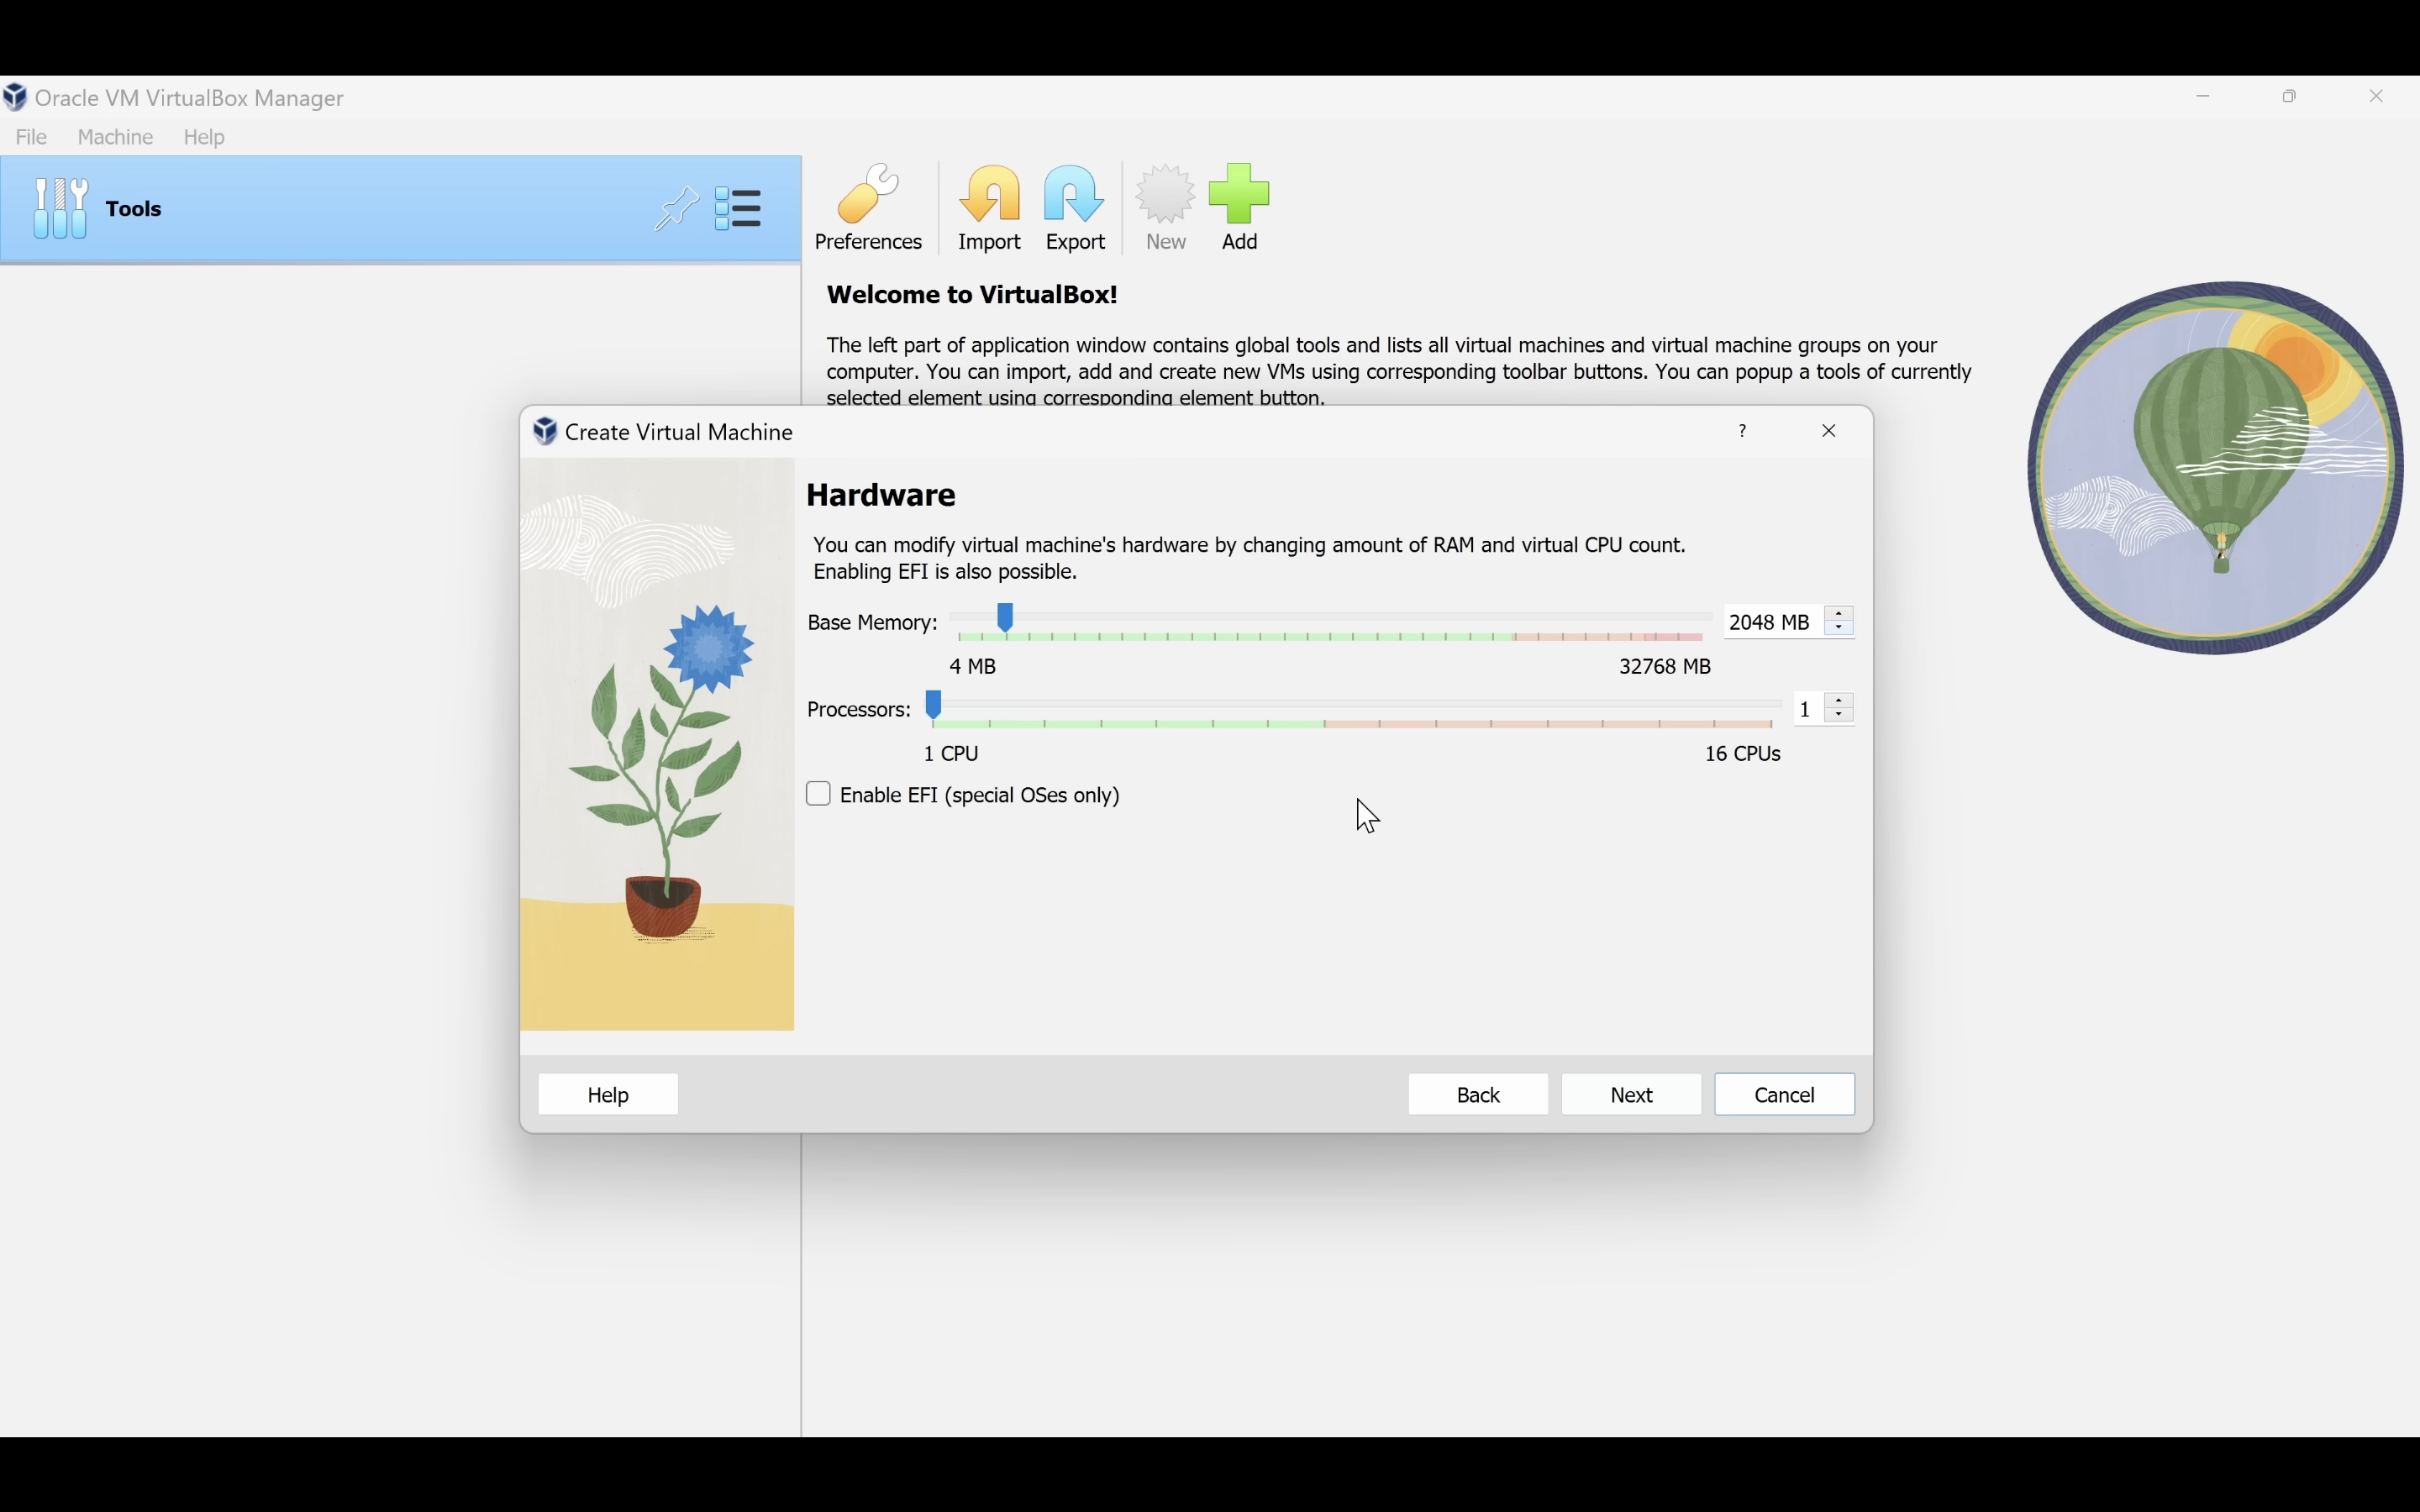
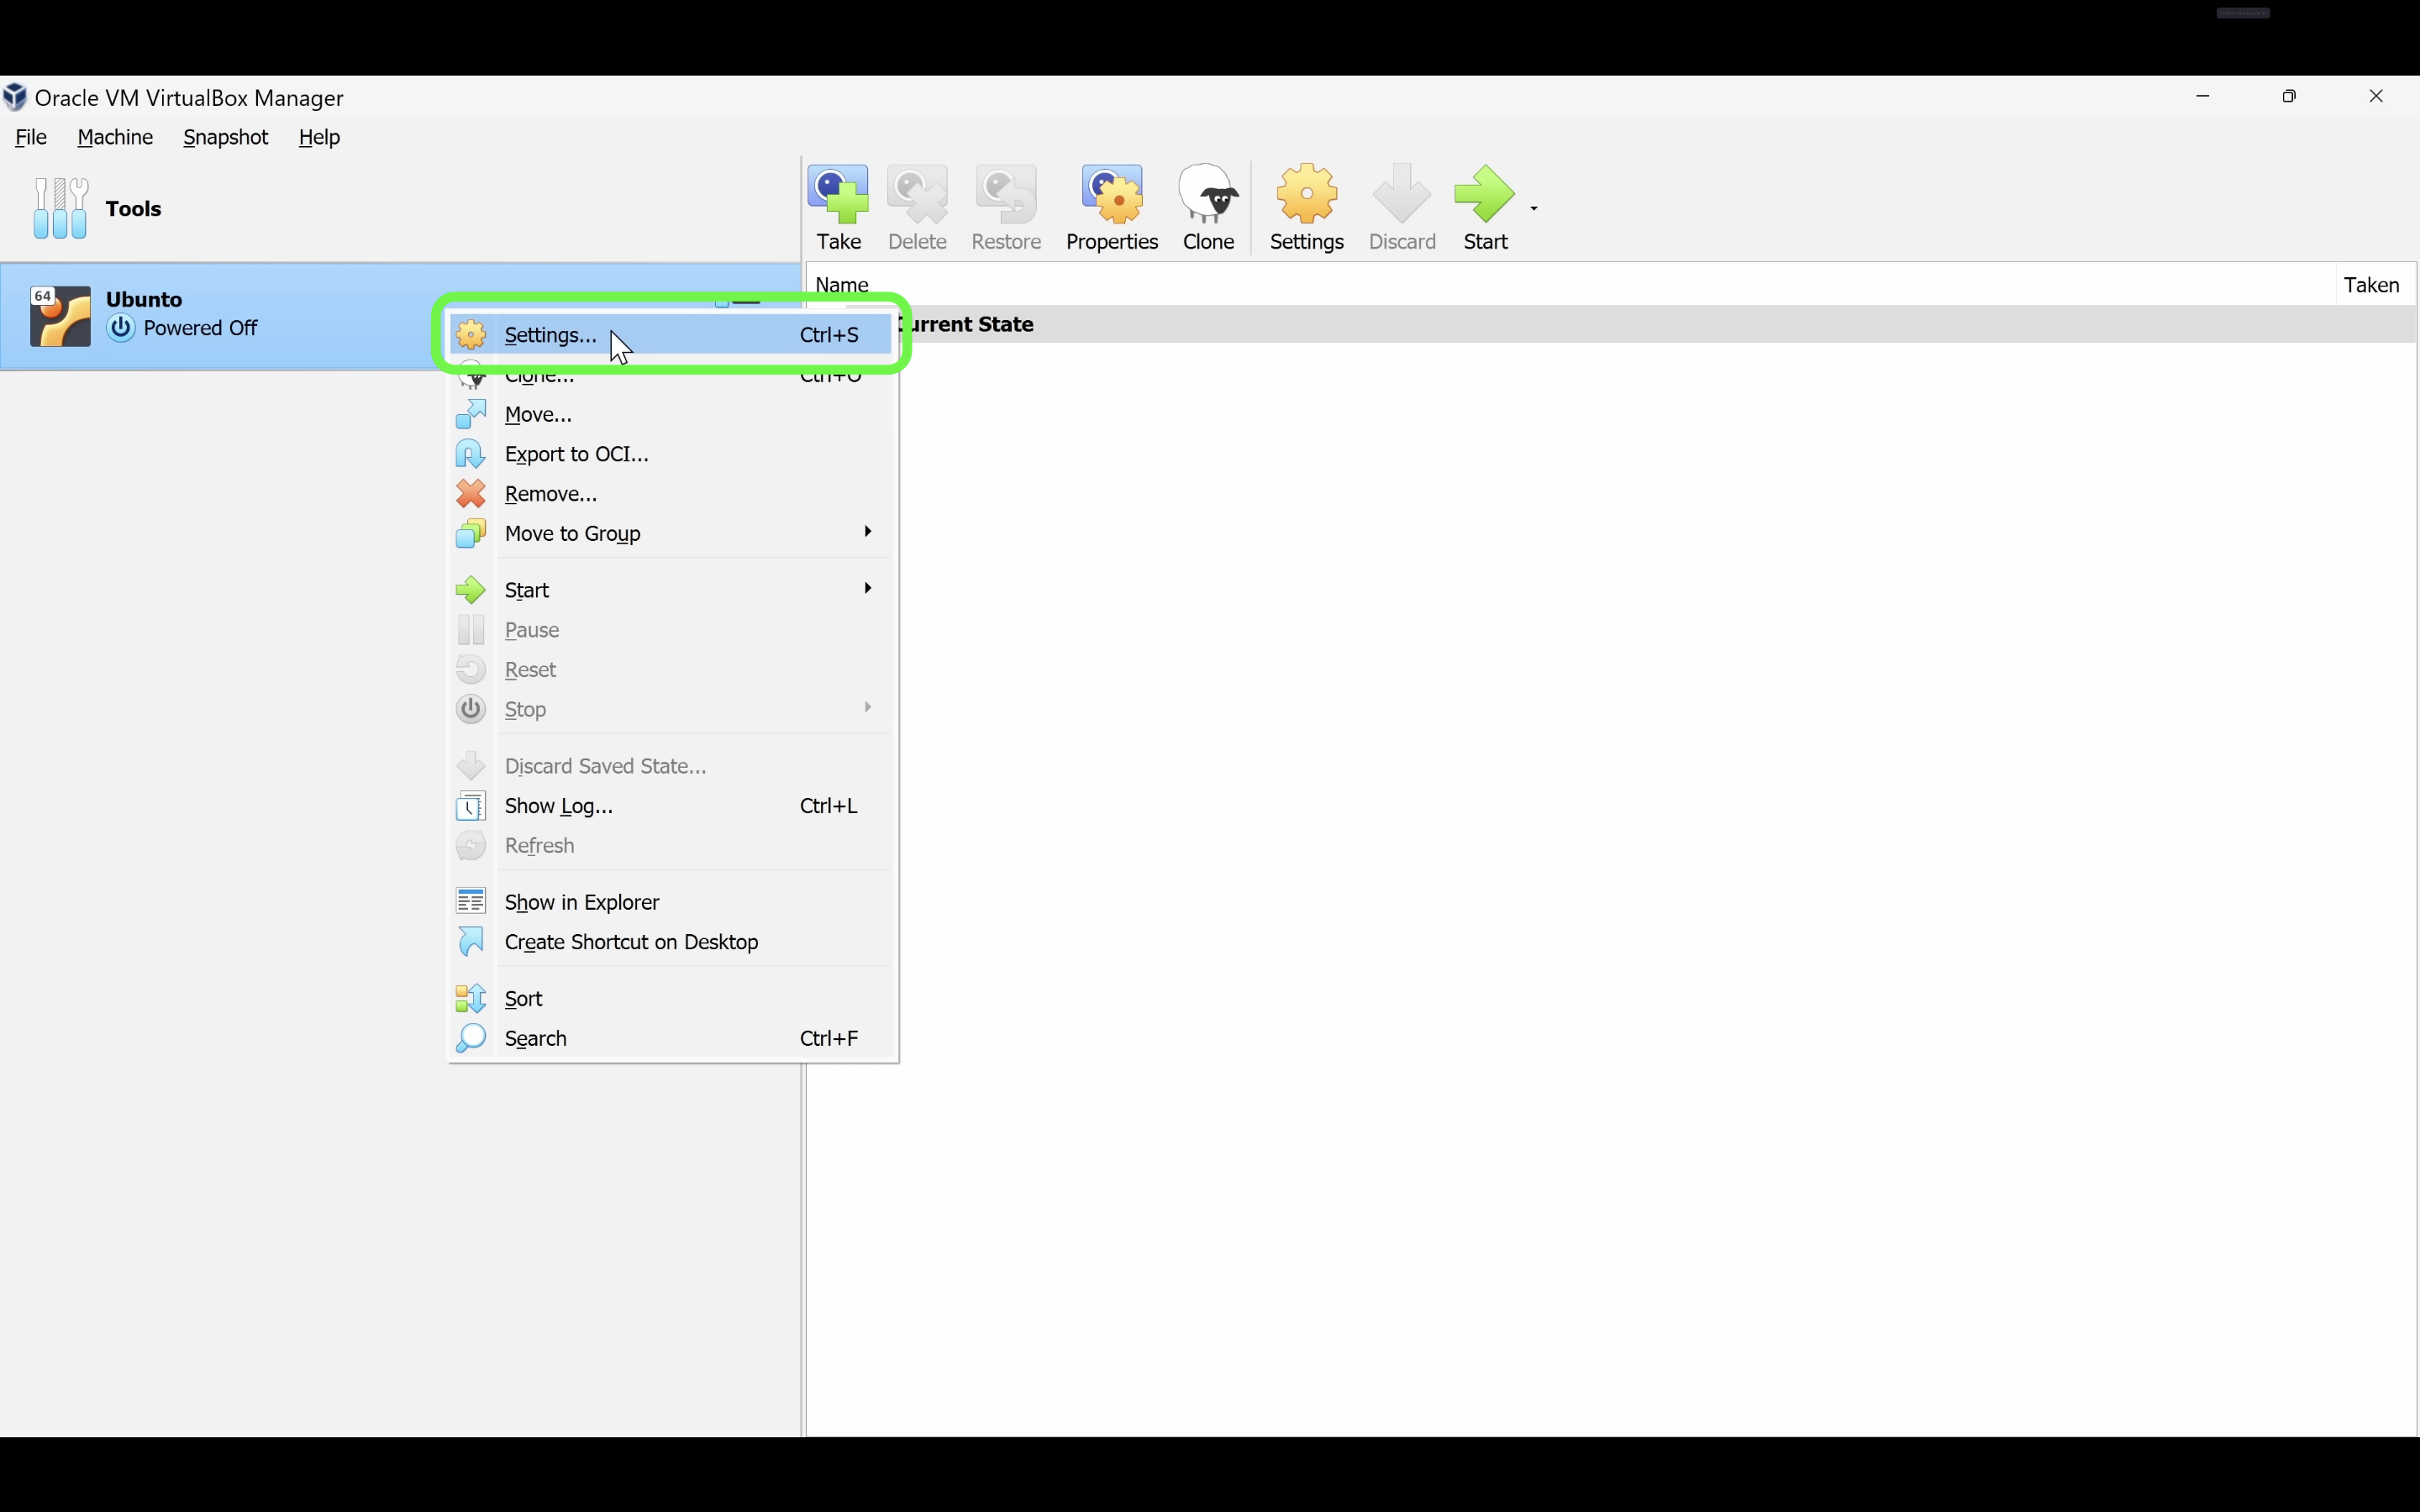
At any point if you want to go back and change certain configurations of your VM like ram allocation, you can head over to the settings of the VM like so:
Note: You might want to enable Network access in the network panel in setting to be able to access the internet from the virtual machine.
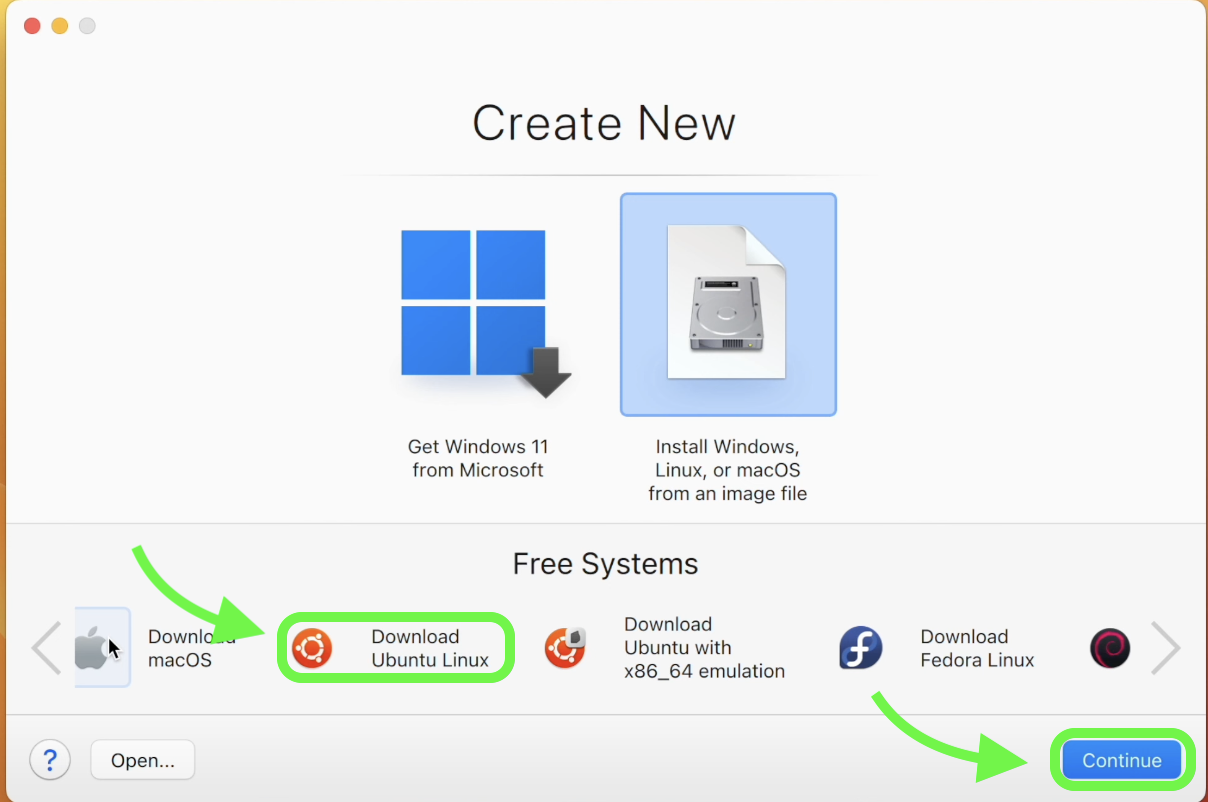
You could install Oracle Virtual Box on MacOS as well, but there exists a simpler solution - Parallels Desktop. It is a paid software, but you can get the trial for two weeks, so you can try out Linux.
If you have brew installed its as simple as : brew install --cask parallels
If you don't have brew you can find the installer here : Free 14-day trial of Parallels Desktop for Mac | Apple M1, M2, M-series compatible
P.S: I would highly suggest you get Brew setup, its an amazing tool. You wont regret it.
For this demo, I have selected Ubuntu, but feel free to try out any distro you like.
That's it, you have installed Ubuntu and setup a VM on your Mac. Paralells makes it superrr easy to setup VM's.
Congrats on setting up your VM. The objective of this exercise was so that you install and try out a Linux distro, and that you can get comfortable with the OS. Once you are fairly confident and comfortable with the OS, you can consider dual booting, or straight up replacing windows for a distro of your choice :)
Enjoy tinkering around and distro-hopping.
Powered Not An SSG 😎